In this article we will explain what you can edit and alter on a purchase order in Teesom.
Open the PO
From the Purchase Order List
Go to the Main Menu and select Purchase Orders:
Search for the PO and open it:
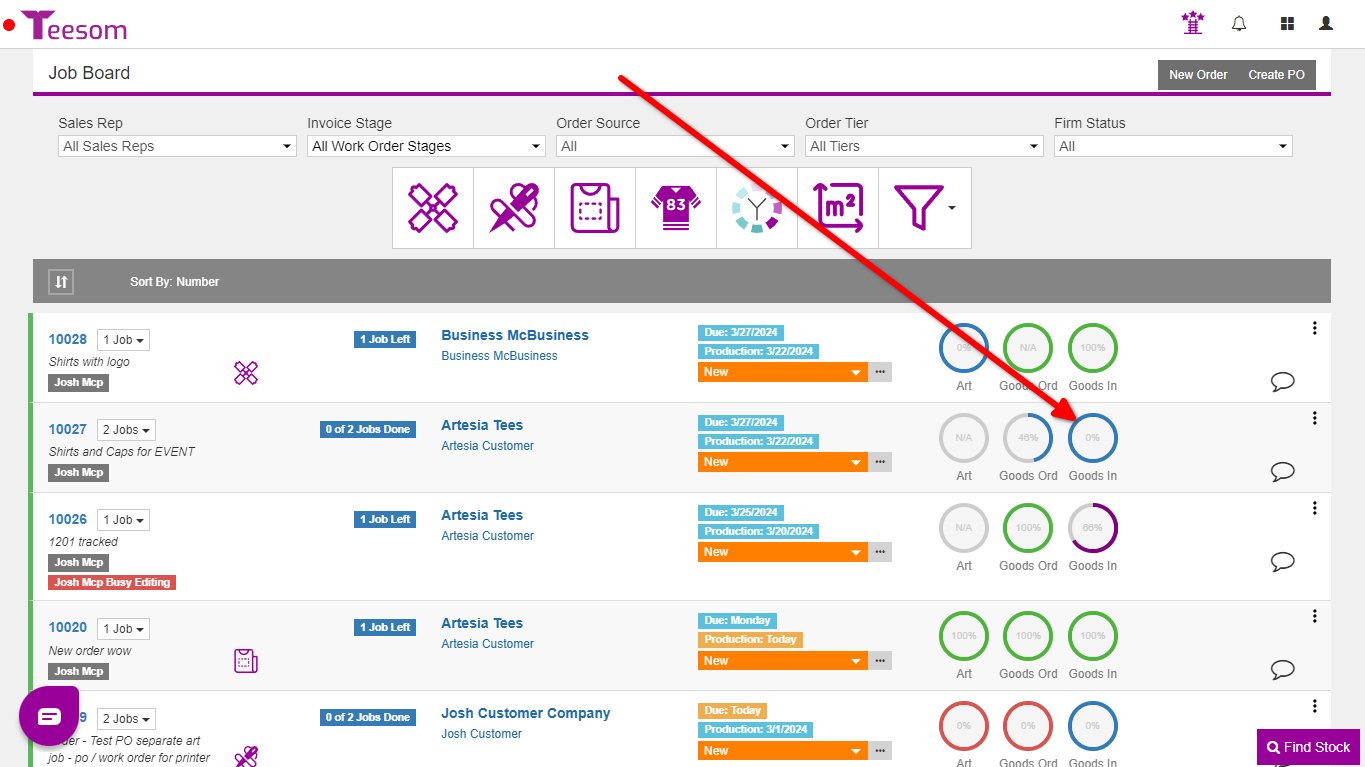
From the Job Board
Click on the “Goods In” circle.
Click on the PO number to open it.
NOTE: You can do this from the Job Board or on the Order.
Edit The PO
On the “General Tab” of the PO you are able to edit/alter:
The supplier on the PO by clicking on the two arrows icon. (If the PO has been marked as sent you can click the ‘Send’ dropdown and select ‘Mark as Unsent’.)
The primary contact on the PO by clicking on the two arrows icon. You can add a new contact on the fly.
Update the suppliers ship from address.
Change the ship to address.
Change the user responsible.
The expected date.
Click on the dropdown arrow next to a line item for extra information and options.
Change the quantity of items to order.
Change the sales category of the item.
On the “Dates” tab you are able to edit the different dates by clicking on the calendar icon:
Order date: The date the PO was created.
Sent date: The date the PO was sent to the supplier.
Expected date: The date the goods are expected to arrive on.
Received date: The date the goods were checked in.