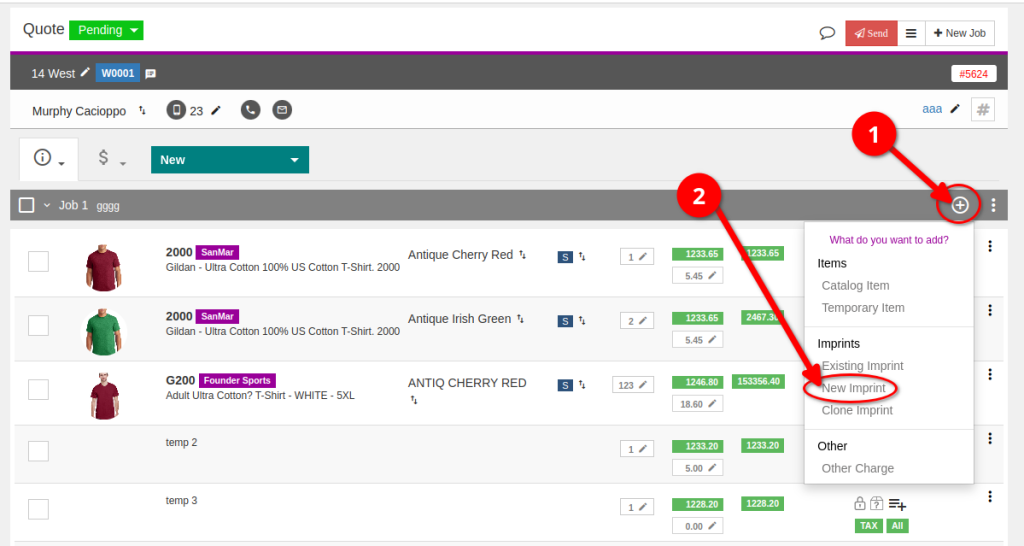
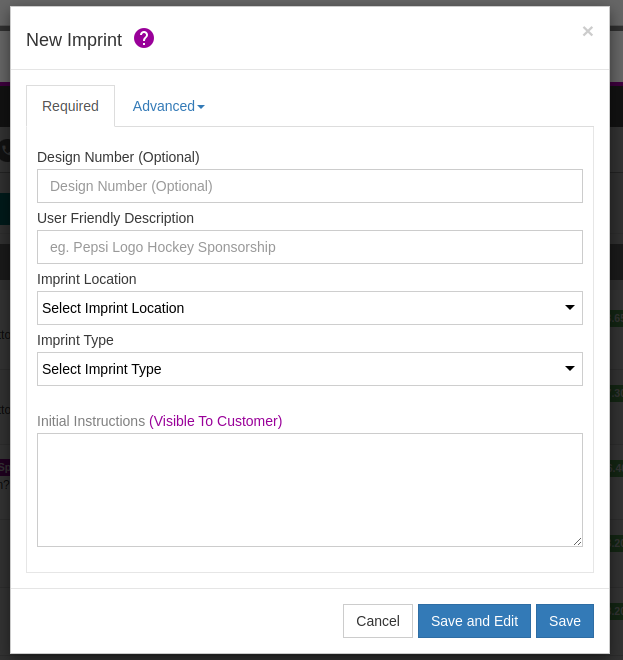
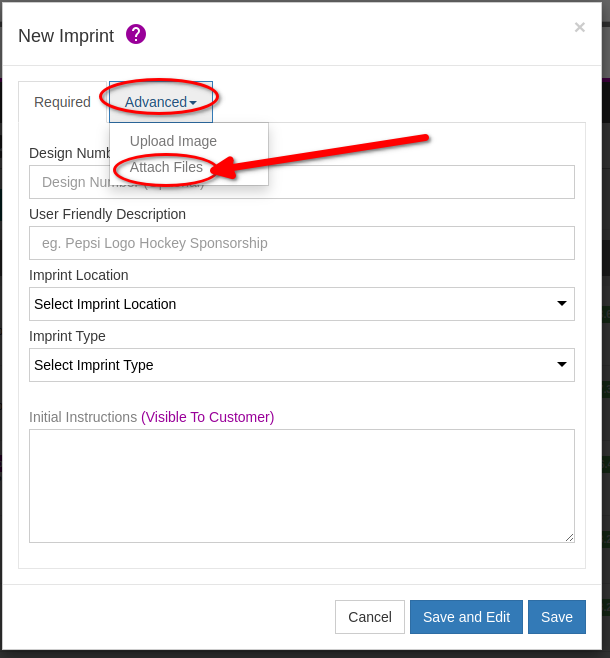
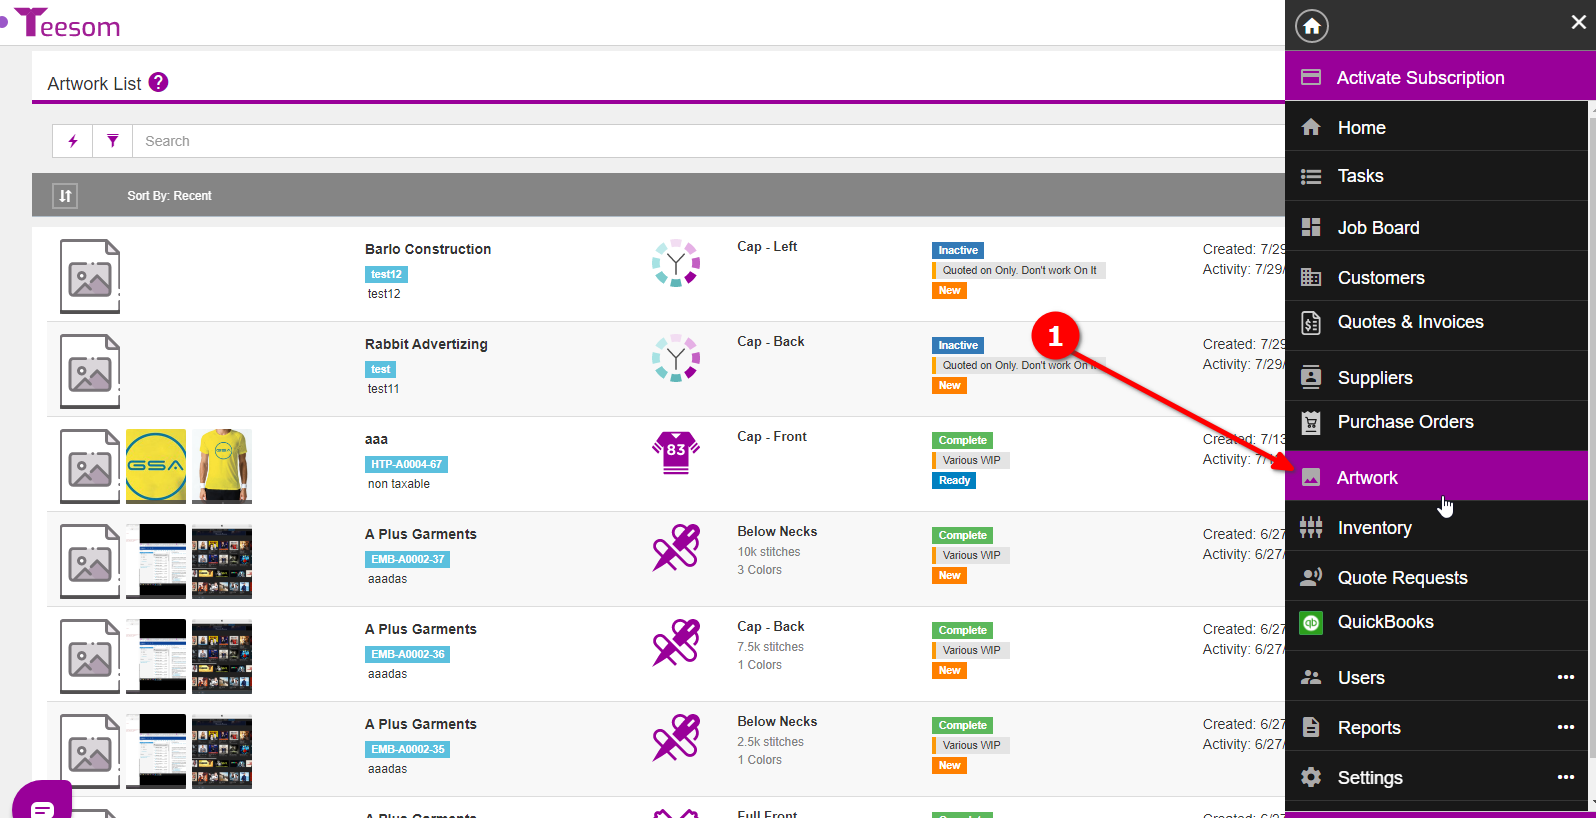
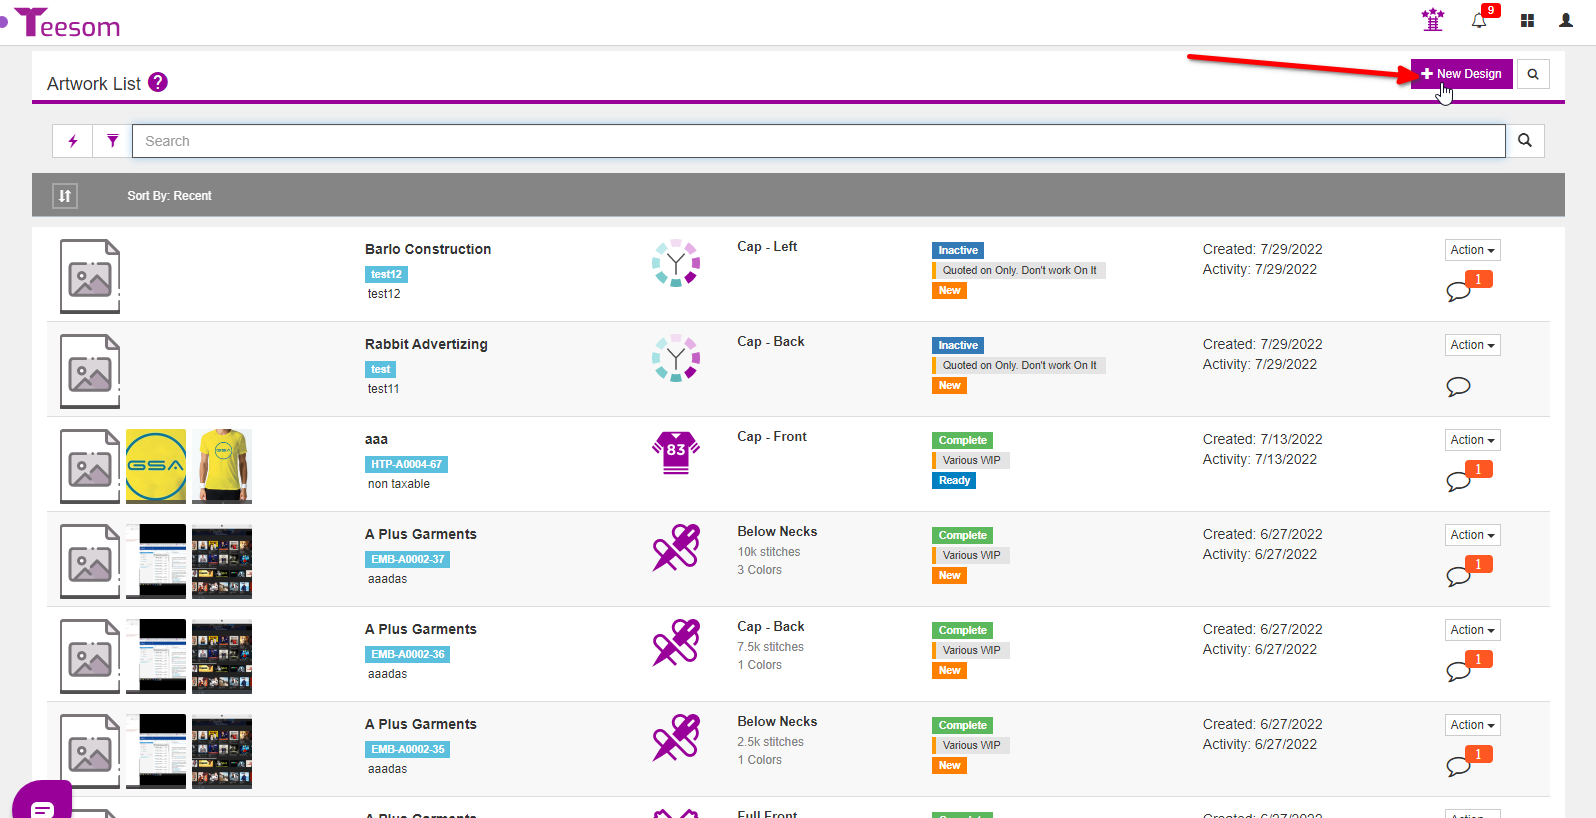
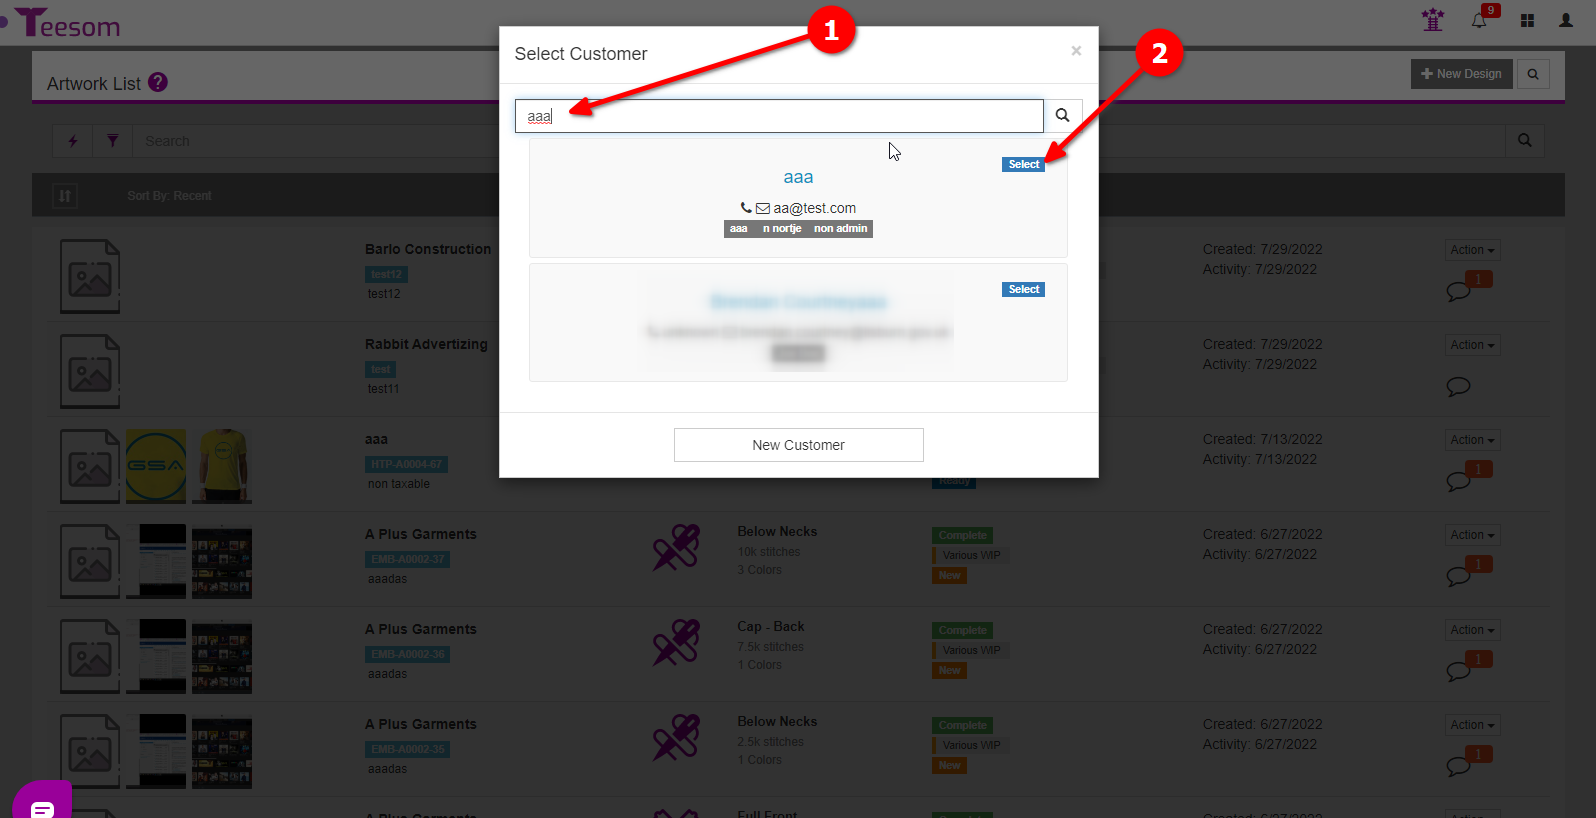
< Back You are here: Home How To Create New Artwork Print How To Create New Artwork In Teesom the terms “Artwork”, “Imprint” and “Design” are used almost interchangeably. There are 2 places where you can create new artwork:On the order with the “New Imprint” option.On the Artwork list screen. Create New Artwork on an Order On an existing or new Order, click the "+" icon and select "New Imprint" You can then proceed to add the Required Information: Design Number: This is optional. If you do not enter your own Design Number, Teesom will generate one for you.User Friendly Description: Give your new design any description that suits you.Imprint Location: Select from the available locations.NOTE: You can customize the Imprint Locations list under Company Setup -> Lists.Imprint type: Select the “type” of Imprint, i.e: Screenprinting / Embroidery / etc…After selecting the imprint type, you will be presented with a dropdown for selecting the desired Price Matrix.NOTE: You can create your own Imprints Pricing matrices under “Pricing and Products -> Pricelists”.You may also enter any notes or initial information that the artist may need to have. On the "Advanced" tab you can upload thumbnail/preview/mockup the images of your artwork, and you can also attach other files. Please note: Only "Image" files can be used under "Upload Images" (for mockups). For example: JPG, PNG, BMP, GIF. Other file types such as PDF/Adobe/Corel/etc.. can be uploaded to the "Attach Files" area. Attached files will appear in the Artwork Message Board, under the initial instructions, they are visible to the Customer. Create New Artwork from the Artwork List Go to the “Main Menu“.Select “Artwork“.Click on “+ New Design“. When creating new artwork from the artwork list screen, you will first select the *Customer* that the artwork will "belong to". Search for the customer you’re creating the artwork for.Click on “Select” to choose the customer. Then enter the required information: Design Number: This is optional. If you do not enter your own Design Number, Teesom will generate one for you. User Friendly Description: Give your new design any description that suits you. Imprint Location: Select from the available locations. NOTE: You can customize the Imprint Locations list under Company Setup -> Lists. Imprint type: Select the “type” of Imprint, i.e: Screenprinting / Embroidery / etc… After selecting the imprint type, you will be presented with a dropdown for selecting the desired Price Matrix. NOTE: You can create your own Imprints Pricing matrices under “Pricing and Products -> Pricelists”. You may also enter any notes or initial information that the artist may need to have. Please note: only "Image" files can be used under "Upload Images" (for mockups). For example: JPG, PNG, BMP, GIF. Other file types such as PDF/Adobe/Corel/etc.. can be uploaded to the "Attach Files" area On the "Advanced" tab you can upload thumbnail/preview/mockup the images of your artwork, and you can also attach other files. After entering the required and extra information you can either “Save and Edit” or just “Save” (and exit.)“Save and Edit” will open the artwork edit screen where you can enter extra information for the artwork.“Save” to create the artwork without adding extra information right now. If you clicked on "Save" you will be able to go back and add the extra information later by editing the artwork. Artwork Tutorial Next: How To Edit Existing Artwork Related Topics: 1.) The Artwork List 2.) Artwork Tutorial