Looking for help?
Inventory Swap Feature
In order to create Inventory Swap items you must first create an inventory stock control item and link all the catalog codes to that inventory stock item. Let’s do that now.
Step 1
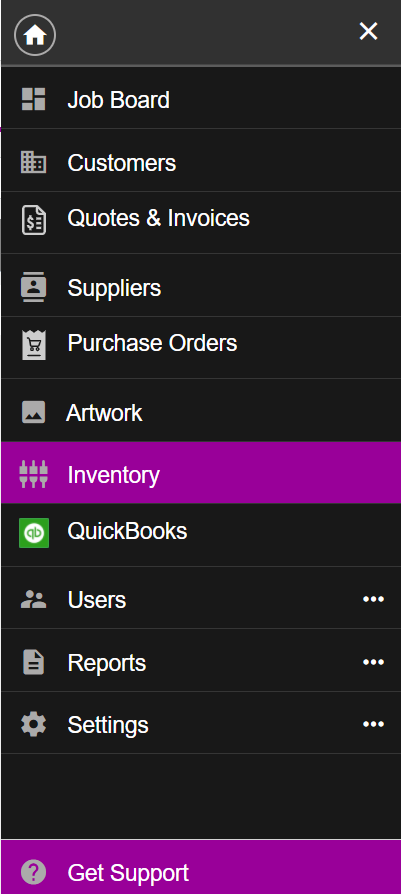
From the Main Menu select the Inventory
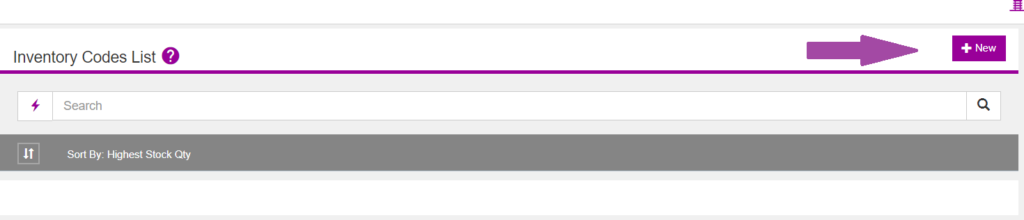
Click on the +New option to create a new inventory code item.
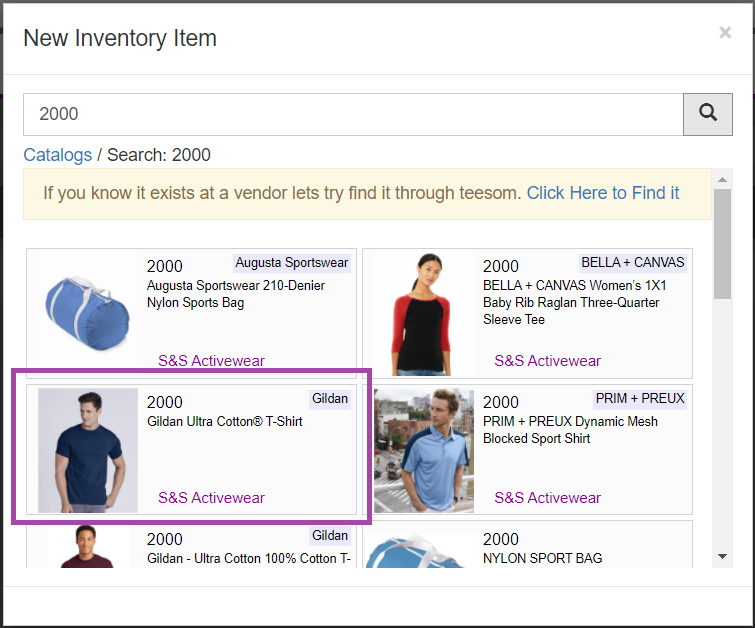
Let’s start with the 2000. Simply do a search for the catalog item. Then select the appropriate option. In this case I am going to select the 2000 from S&S.
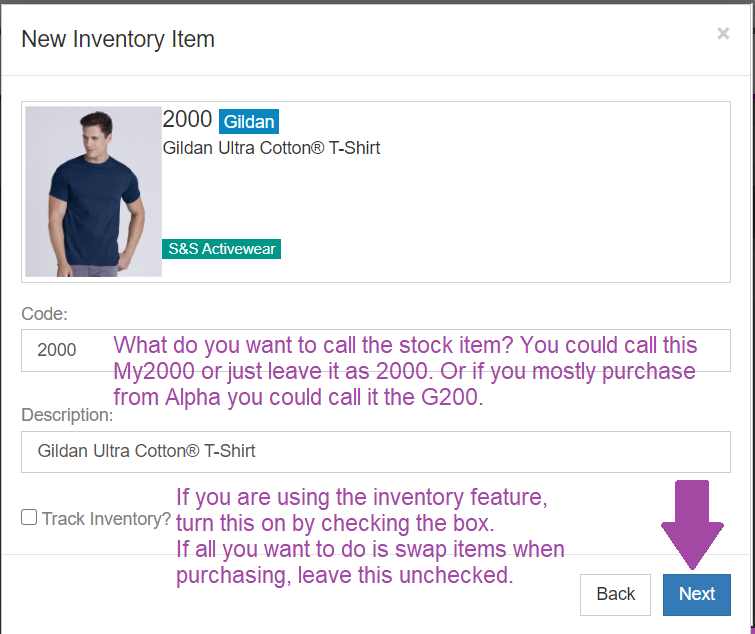
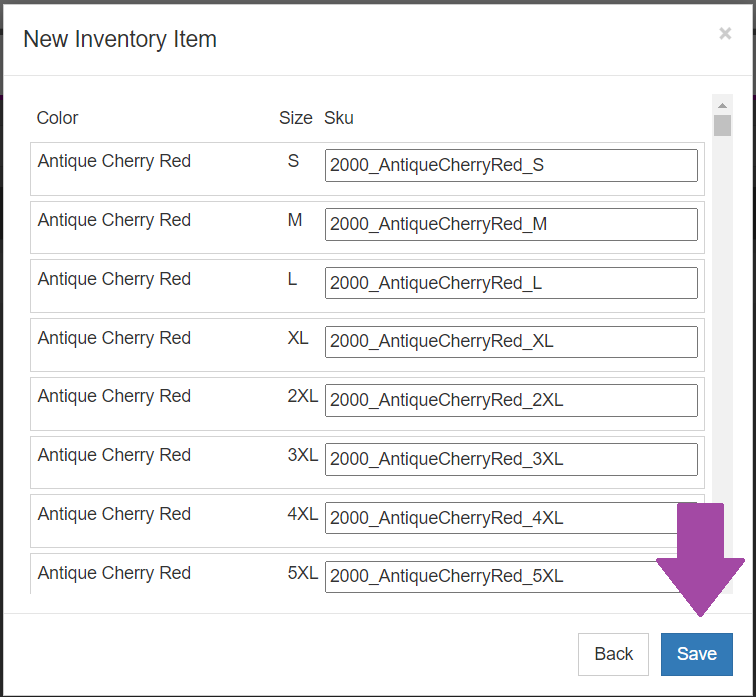
The next screen is simply confirming all the colors and sizes you can get for the new Inventory stock item 2000 from S&S. Go ahead and hit save.
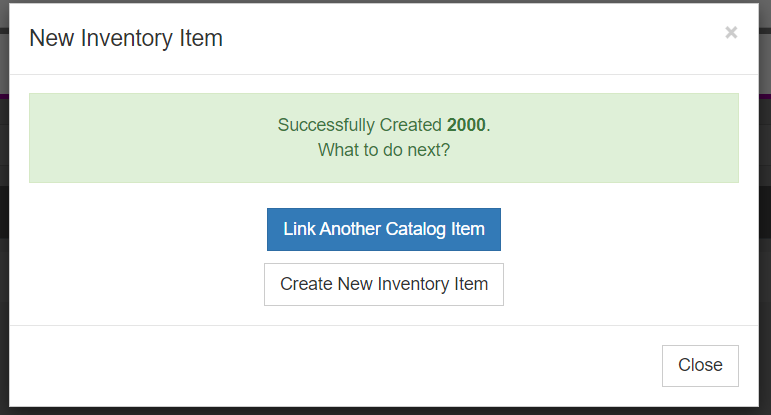
Now let’s link AlphaBroder’s G200 to the inventory stock item 2000. Click on the Link Another Catalog Item button.
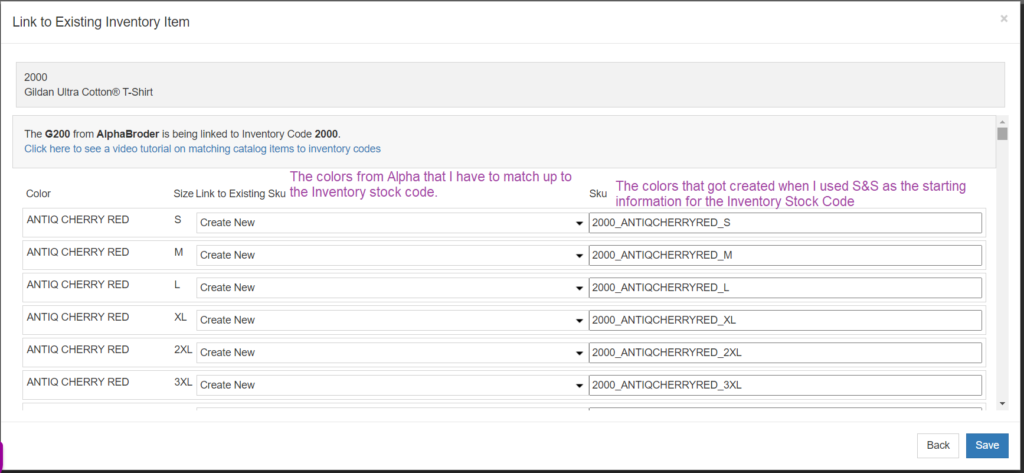
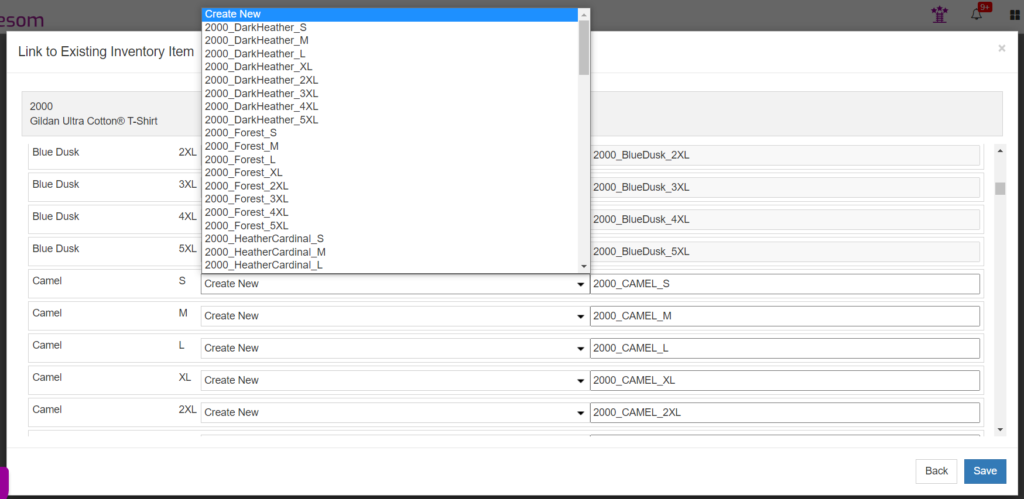
You will only need to update color information if the box says Create New (see above). Then you will marry up the color from one vendor to the color from the other vendor that was used to create the Inventory Stock Code.
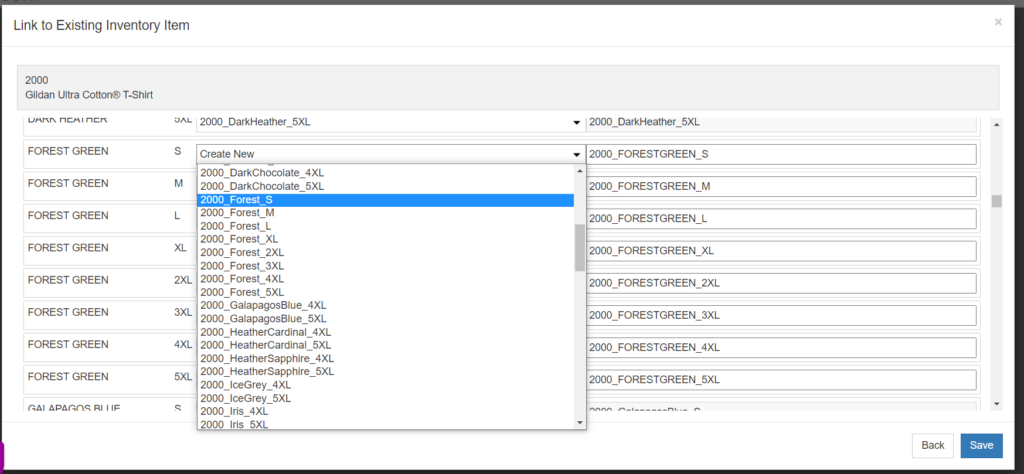
NOTE! To quickly update the colors, use the Tab button to click to the next color field and use the down arrow on your keyboard to quickly scroll to the correct color and size option. They should always be in alphabetical order which will help this process go fast. Unfortunately, as you can see, vendors abbreviate the colors differently; this is why you even have to match them up.
The process needs repeated for SanMar and TSC. SanMar calls it the 2000 but TSC calls it the 0281GL.
NOTE! In the example below, I tried to link the camel color up but SanMar does not carry the Camel color. In this case I will not connect anything from SanMar to the Camel color option. This means I can never purchase stock for the Camel color from SanMar.
Now that we have an Inventory Stock code called the 2000, let’s see how we can swap items on a Purchase Order.
Swap Items on a Purchase Order
Once you have linked multiple catalog items to a single Stock Code, you can now swap those items for purchasing purposes.
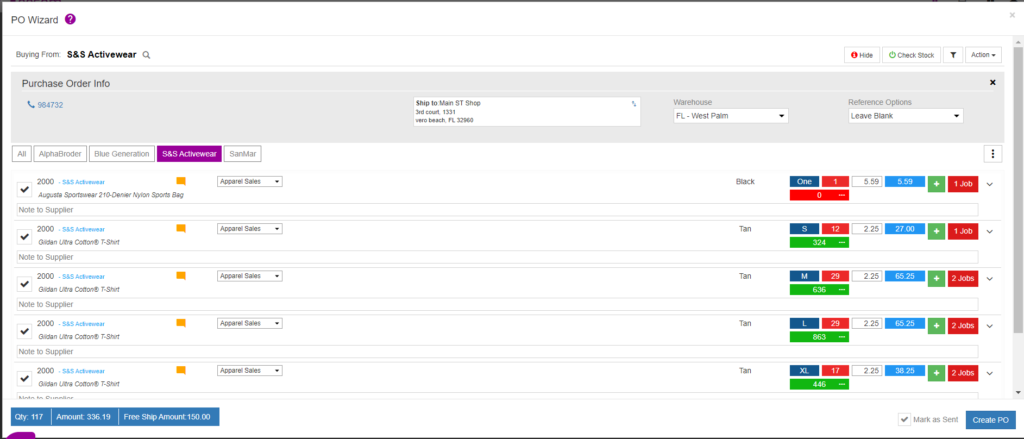
In the image below, items that need purchased from S&S Activewear are only being shown. S&S Activewear is also the vendor that the items are being purchased from. The check stock option was clicked, therefore, we can see stock quantities from S&S for each line item. The first line item is a bag and it has 0 stock at S&S. This item is also called the 2000 but it was not linked to the inventory code because it’s an Augusta bag not a Gildan t-shirt.
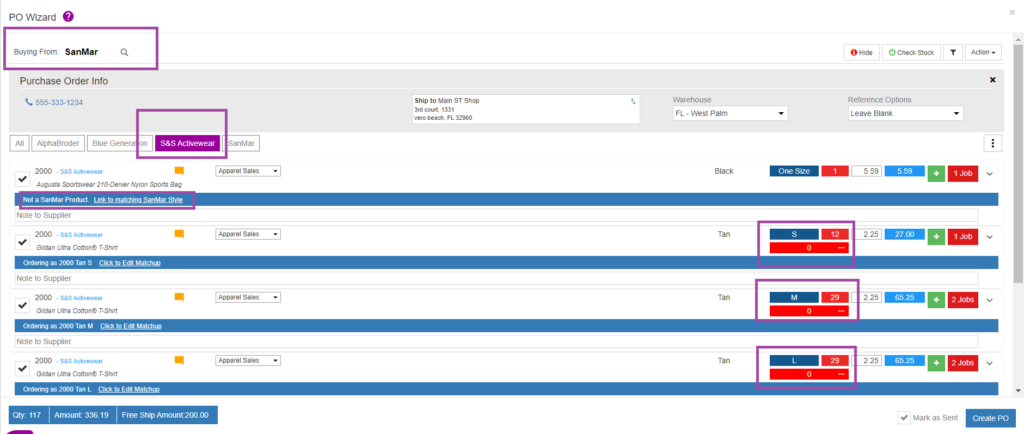
In the next image the first line item, the 2000 Augusta bag is not a SanMar product, this is why it does not return any stock. As you can see, we cannot get Tan Gildan 2000 t-shirts from SanMar.
Let’s try Alpha.
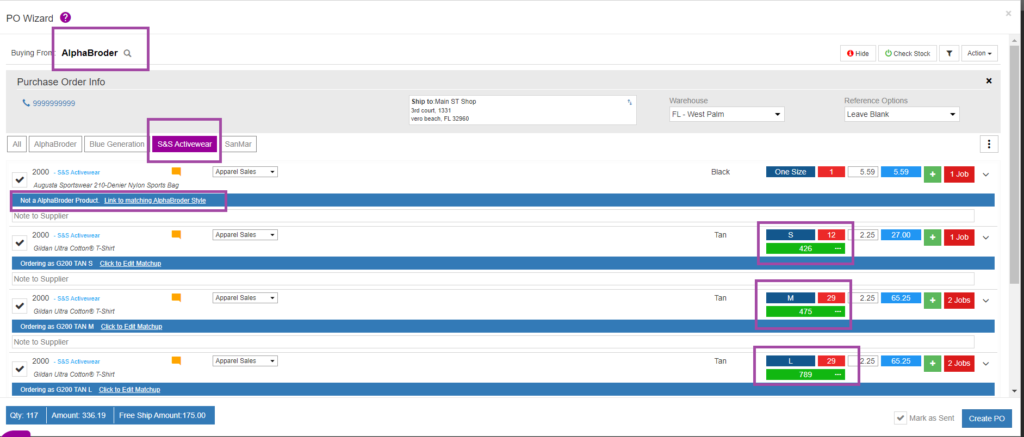
Success. This is going to work! I can get all the 2000 Tan t-shirts from AlphaBroder. Now the AlphaBroder items can be added so that I can combine items that need purchased with S&S and AlphaBroder.
Notice that because the catalog items are linked as one inventory stock code it knows it is ordering the G200 Tan for items that are listed as the 2000 Tan on an order.
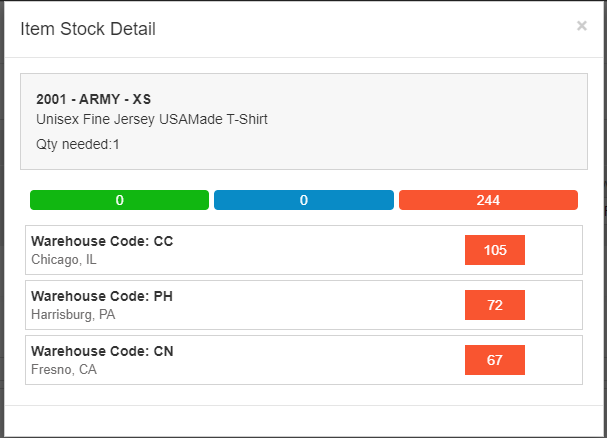
In the image below, items from AlphaBroder and S&S are being purchased solely from AlphaBroder. The first line item, the 2001, has quantity that can only be purchased from my non-preferred or a “Bad” warehouse from AlphaBroder.
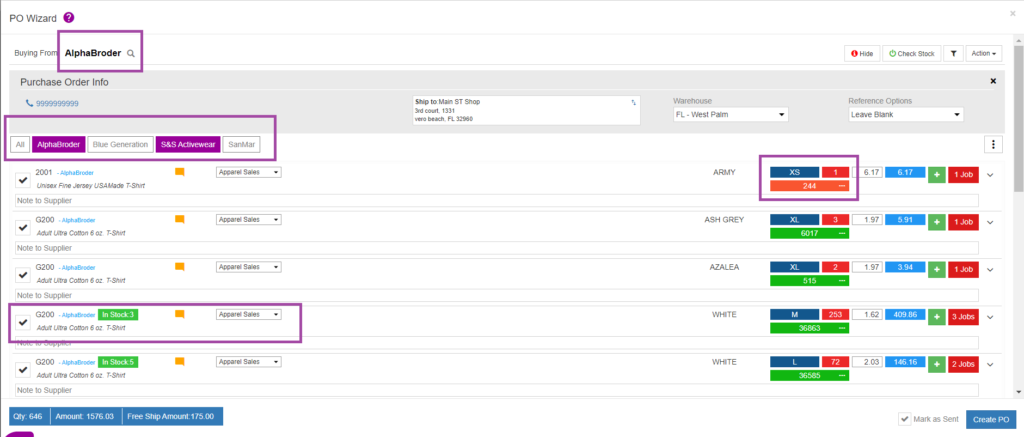
Notice on the 4th line, which is a White, M, 2000, we have stock of 3 pieces. If we want to see which of OUR warehouses are holding stock you can click on the green verbiage that says “In Stock: 3”. Once clicked you’ll see the image below.
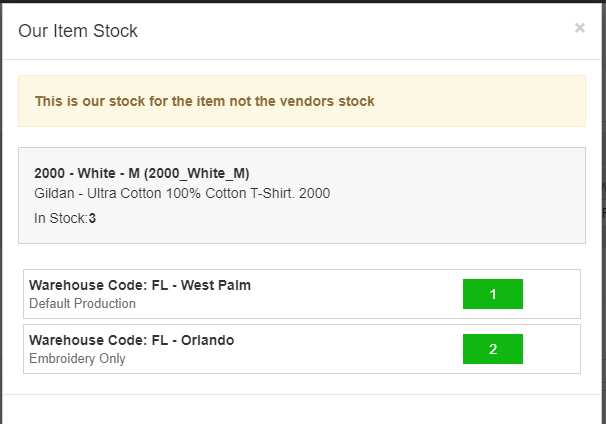
NOTE! You may not have two warehouses like this example. You may only have one warehouse to setup to pull from.
For this tutorial we are not going to pull items from inventory but rather just purchase the items needed.
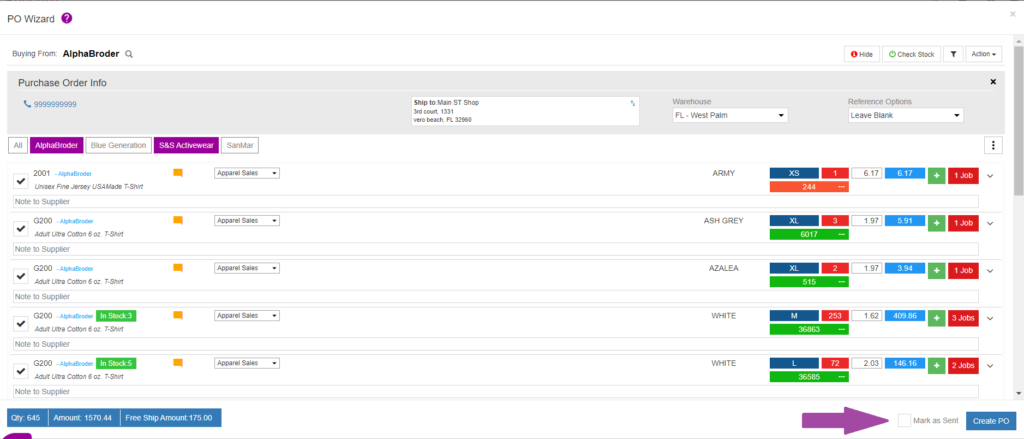
We can now click on the Create PO button.
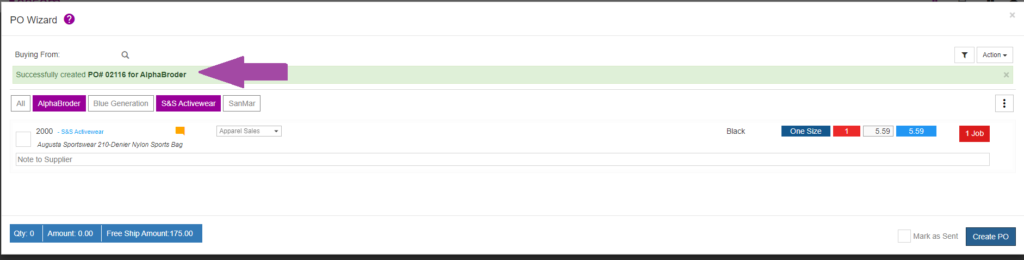
To view the PO and send through the integration, click on the hyperlink where the purple arrow is pointing.
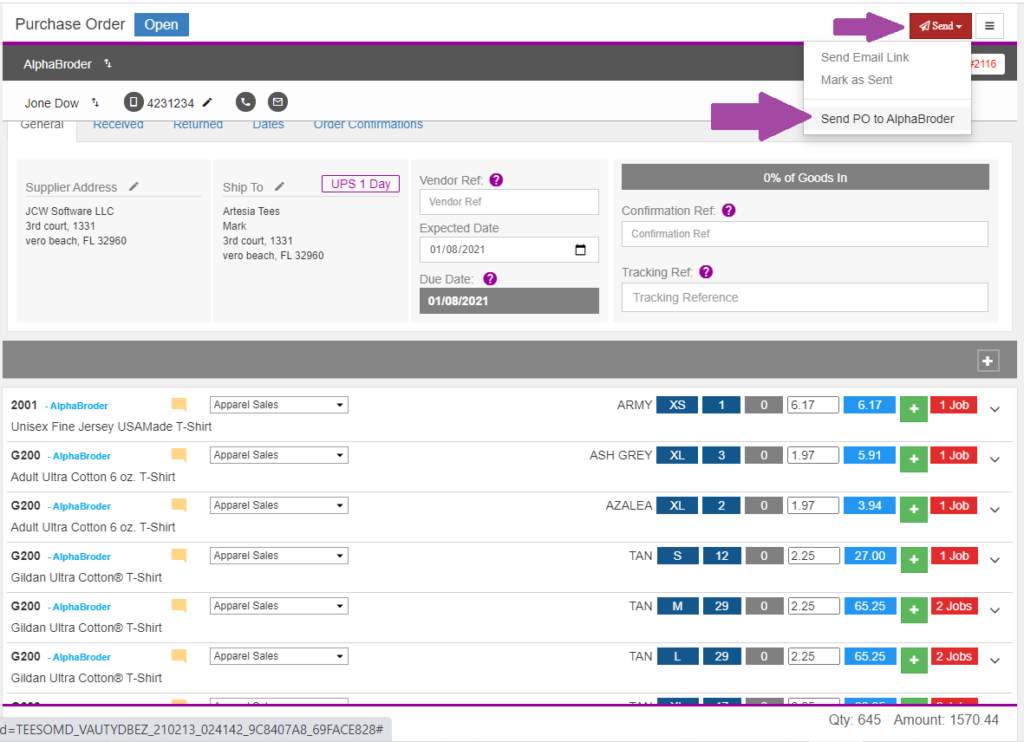
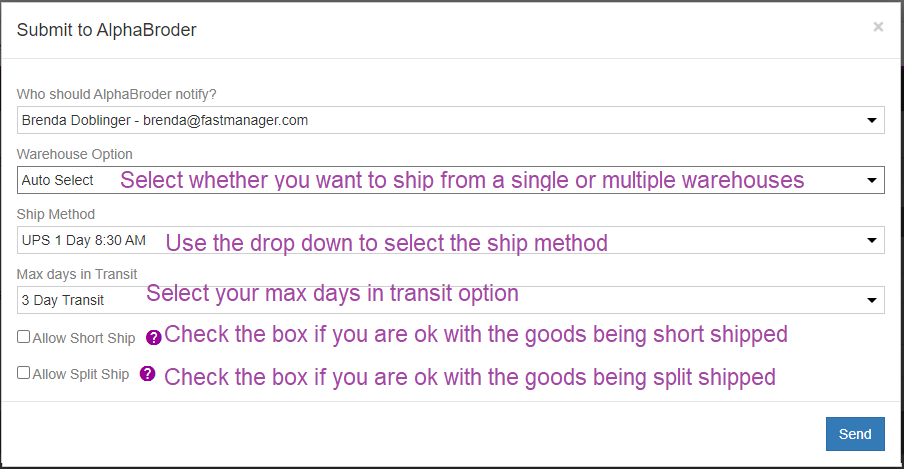
Click on the red Send button, then select Send PO to AlphaBroder. Each vendor’s screen is going to be slightly different based on the options that they offer. Here’s what AlphaBroder’s will look like.
In scenario 1, we have opted to ship from a single warehouse.
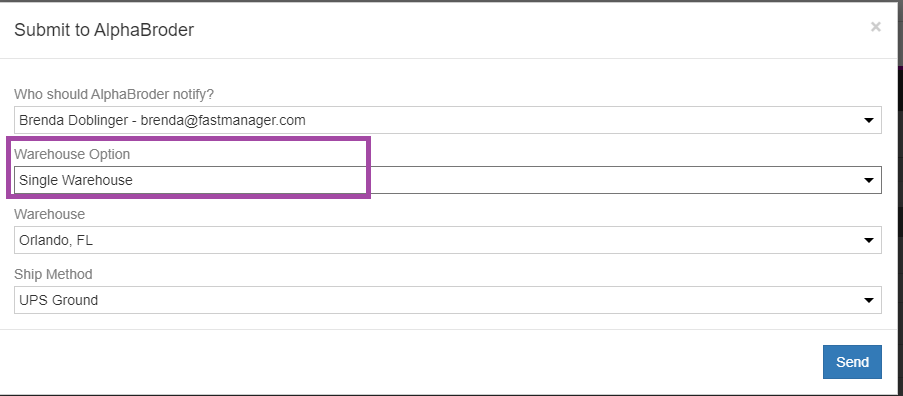
The closest warehouse was chosen and the ship method was also selected. Now we can hit send. If the order is not able to be fulfilled from a single warehouse you will get a message stating that.
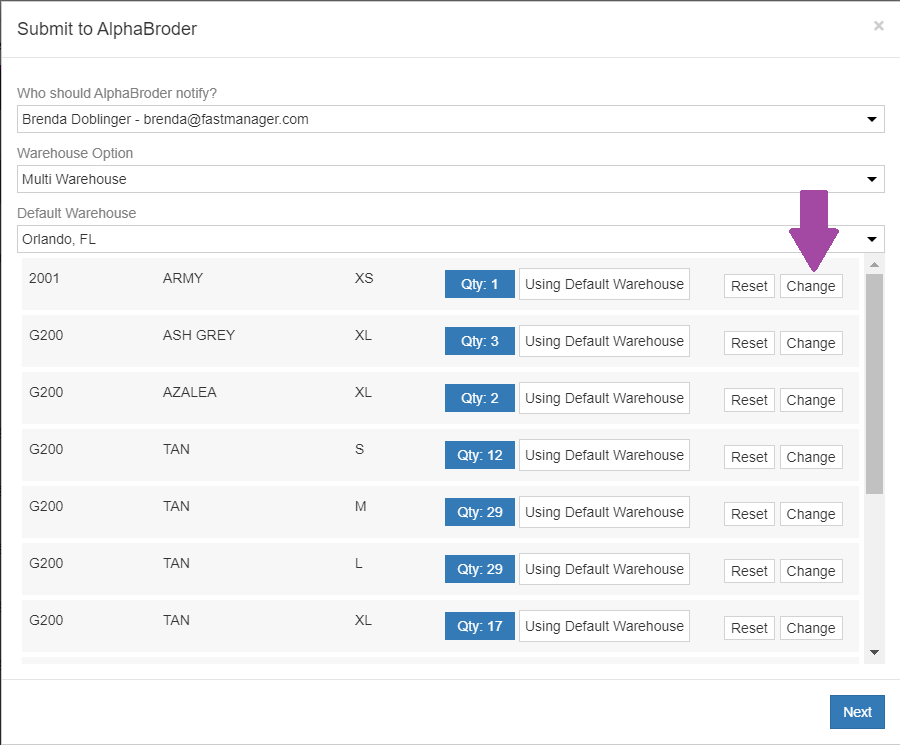
If you select Multi Warehouse then all the items you need to order will appear on screen and you will click on the Change button to see where stock levels can be found to complete your order.
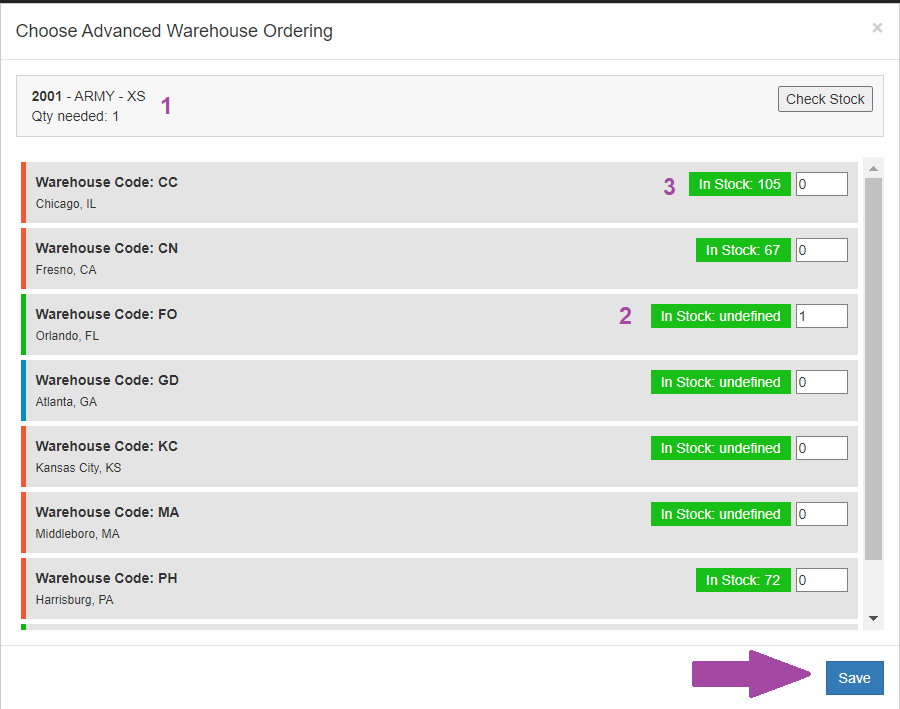
Once in the “change” option, you will click the Check Stock button to see if your selected warehouse has the stock you are looking for. In this case we need 1 piece of the 2001-Army in XS, my preferred Orlando, FL warehouse has no stock therefore I will zero out the quantity from Florida and move the 1 piece to the Chicago, IL warehouse option. When done changing warehouses, click on Save.
Repeat the process for the remaining items.
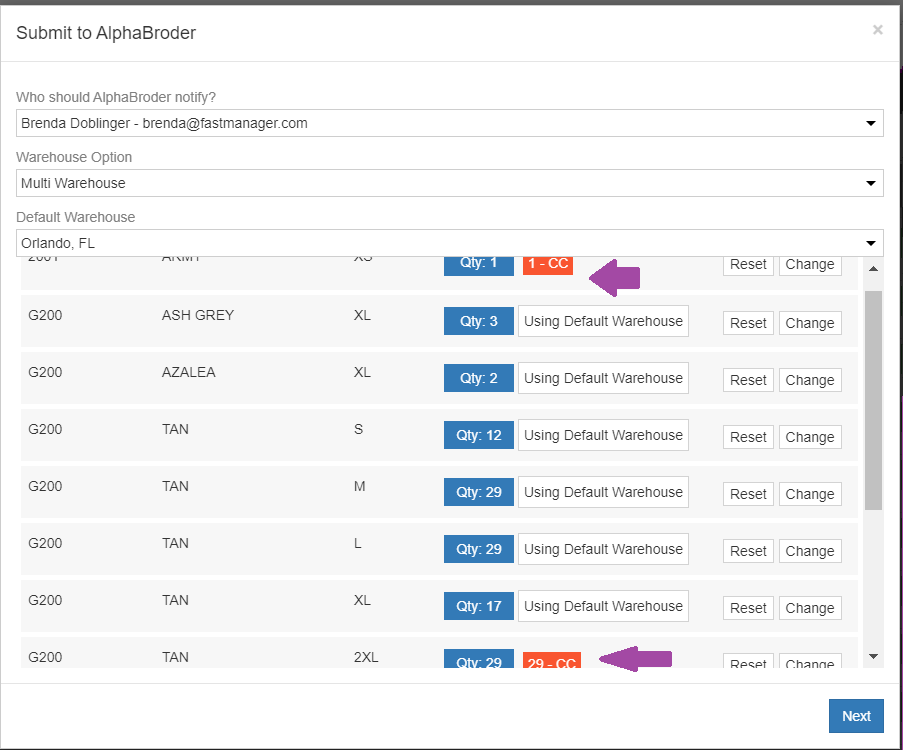
Click the Next button to continue.
Now you can see both warehouses that you are ordering from. For each warehouse select your ship option.
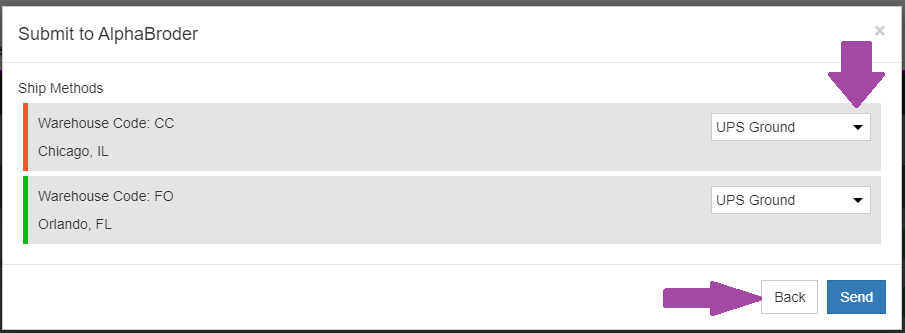
Success, you just sent your order to AlphaBroder. You should now receive an order confirmation from AlphaBroder and this order should now appear in your order history if you log in to your account with AlphaBroder’s website.