In this article we will show and explain how to create a price matrix for Vinyl Heatpressing, using squared pricing.
Create Vinyl Heatpress Price Matrix
Before creating your order, you must first have a price matrix setup to properly charge for the vinyl.
To create the price matrix:
Go to the “Main Menu” -> “Pricing & Product Settings“
Select “Pricelists“
On the “Price Lists” page, click on “+ New“:
Set the service type to “Squared”.
Set the sales category to “Heatpress”.
Enter the number of area breaks you would like.
Select a unit of measurement per square.
Click “Save“.
If you check the 'Rate Per Squared' option, this means that the price list you are creating will calculate by a rate per square as opposed to returning a fixed amount that falls in a range of square area.
After creating the price matrix you can now setup your retail pricing:
Click on the “3 Dot” menu.
Select “Edit Retail”.
You only have to setup a cost matrix if you outsource the work.
On the retail matrix:
Enter your quantity break rows by entering a value then clicking on “Add Row“. The first row must always start at 0. You can add as many quantity breaks as you want.
Enter your area breaks, these indicate which retail price to use at varying sizes/areas.
Enter the retail pricing for each area break in every quantity break row.
If ‘Rate Per Squared’ is not toggled on for this price list then there will be an additional ‘∞‘ column. The infinity column is for any order where the area exceeds your final area break. At this point it will switch to a rate per squared unit, in the below example a rate per square inch.
Click “Save“.
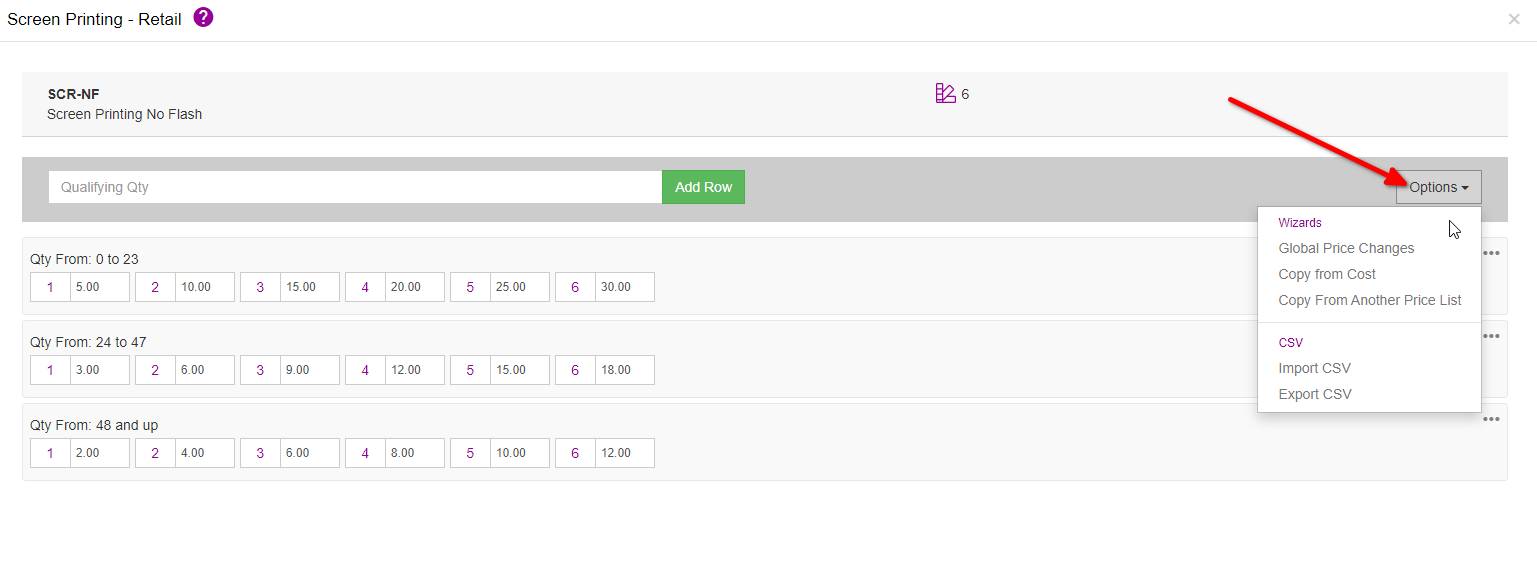
The option dropdown, provides you with extra options to expidite the creation process such as Global Price Changes, copy from existing price lists, and CSV import/export.
In the above example, if the orders area is 12 square inches or below Teesom will use the first retail price. If the area is equal to or below 24 but above 12 then they will use the 2nd area breaks price, etc.
If the order area exceeds the final area break it will switch to a rate per square unit. In the above example that would be a rate per square inch for any order with an area over 500 square inches.
The Options Dropdown Menu - Bulk Edit
The “Options” dropdown menu provides a variety of options to quickly setup your price matrix.
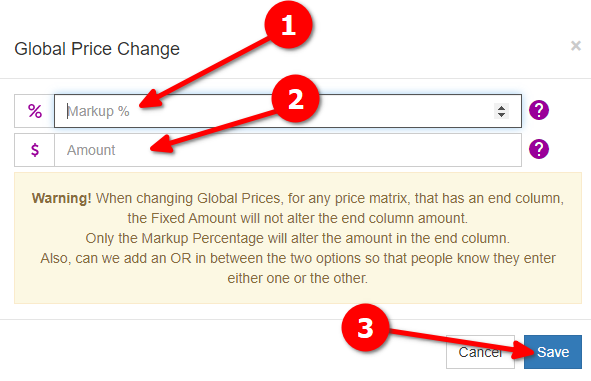
Global Price Changes: This option allows you to change the pricing on all your rows at once.
Enter a percentage to markup or use a negative percentage to markdown the price on all your rows.
OR Enter a flat amount to add on or use a negative to deduct from all rows.
Click on “Save” to apply the changes.
Copy From Cost: If you have set up a cost price matrix you can simply copy the price rows from that directly into your retail price matrix. Then use the ‘Global Price Change’ function, as described above, to apply a markup. (You can also copy from retail on the Cost Price Matrix screen.)
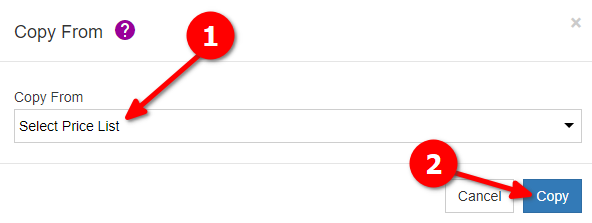
Copy From Another Pricelist: If you already have a price matrix setup and simply want to duplicate it, you can use this option to copy the price matrix setup from that one into this one. (Only for same service type i.e. screen printing, embroidery, etc.)
Select the pricelist to copy from.
Click on “Copy” to apply the changes.
Export/Import CSV: Click on “Import CSV” to import a price CSV if you have one. Click on “Export CSV” to export the price matrix as a CSV. Using this functionality can help speed up the uploading of your prices but you will need to follow the same format as Teesom for the CSV file.
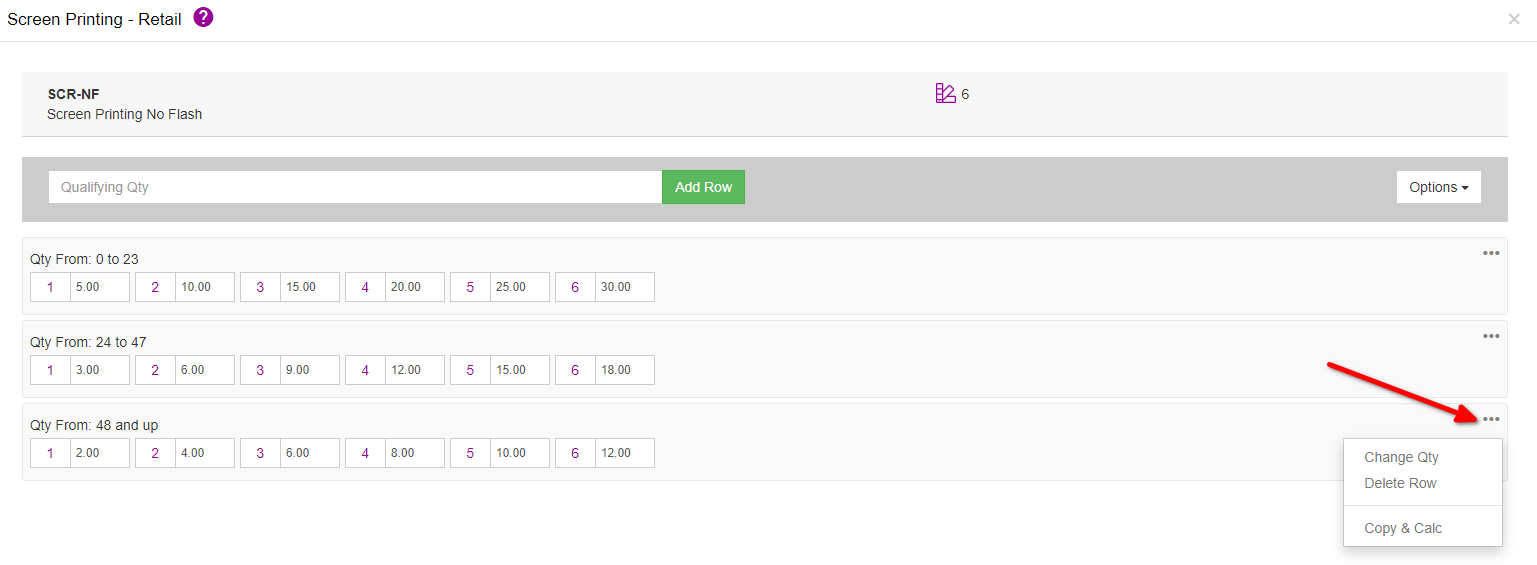
The [ … ] or overflow menu, on the righthand side of each quantity break, provides some options to help you with editing existing rows and adding new rows:
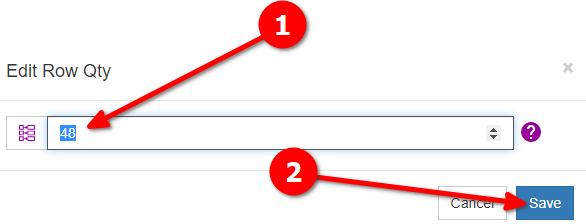
Change QTY: Click on “Change QTY” to change the QTY value on the row.
Enter the new QTY.
Click “Save” to apply the change.
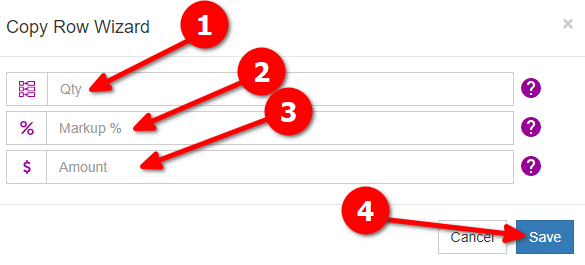
Copy & Calc: This feature allows you to take the values from the previous row and either mark them up or mark them down in order to calculate the values for the next row.
Enter the quantity break for the next row.
Enter a markup or markdown percentage:
If you enter a percentage here you will leave the amount field. (No. 3 in the image to the right) empty.
TIP: If you use a negative percentage, Teesom will mark down by that amount.
You can either add a percentage or a flat amount. If you have a value entered into the percentage field above, leave this empty, otherwise: add a flat value to either increase (positive value) or decrease (negative value) the amount for this row.