In this article we will go through the process of linking your “Sales Categories” in Teesom to your “Products and Services” in QuickBooks.
All the Sales Categories you want need to be created on Teesom and have a mirror match on QuickBooks.Delete any Sales Categories you don’t plan to use in Teesom.
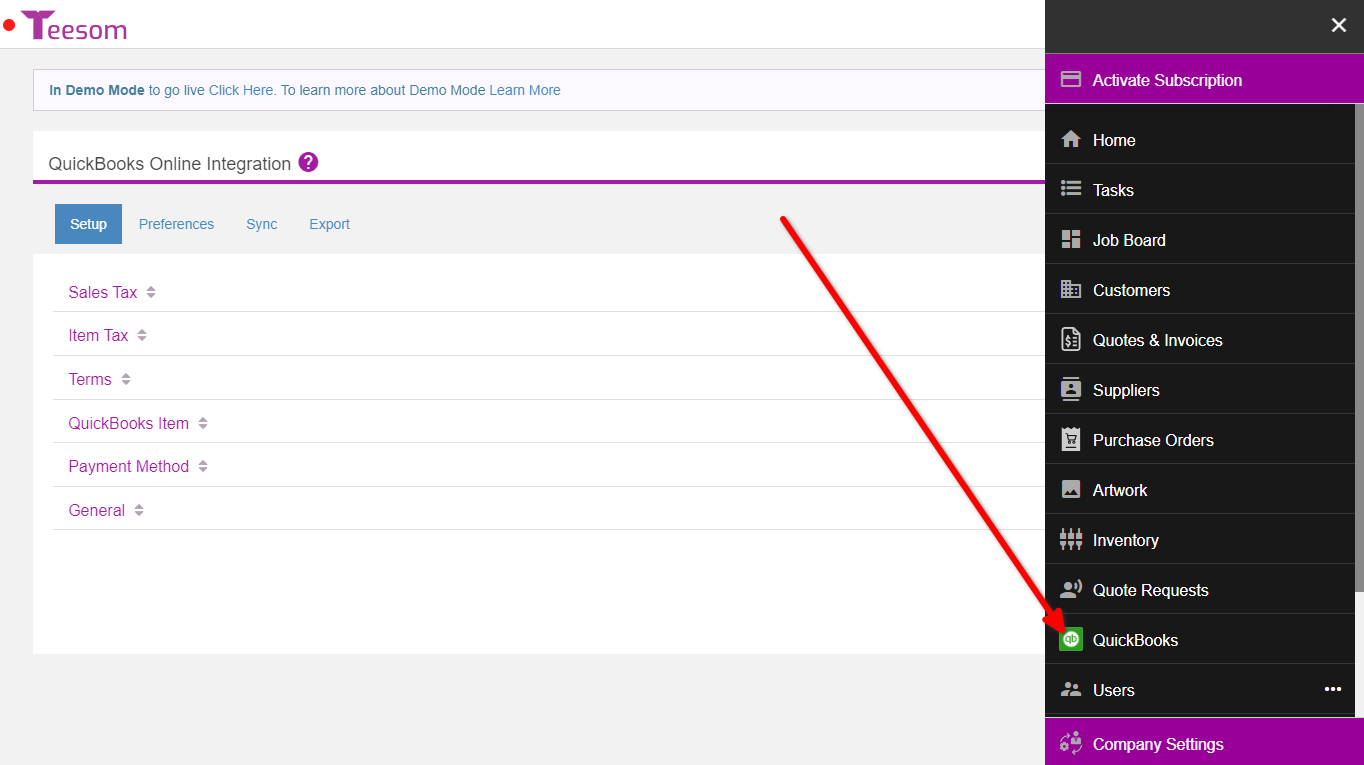
In Teesom open the Main Menu and click on QuickBooks to open the QB Online integrator:
Click on the “Setup” tab.
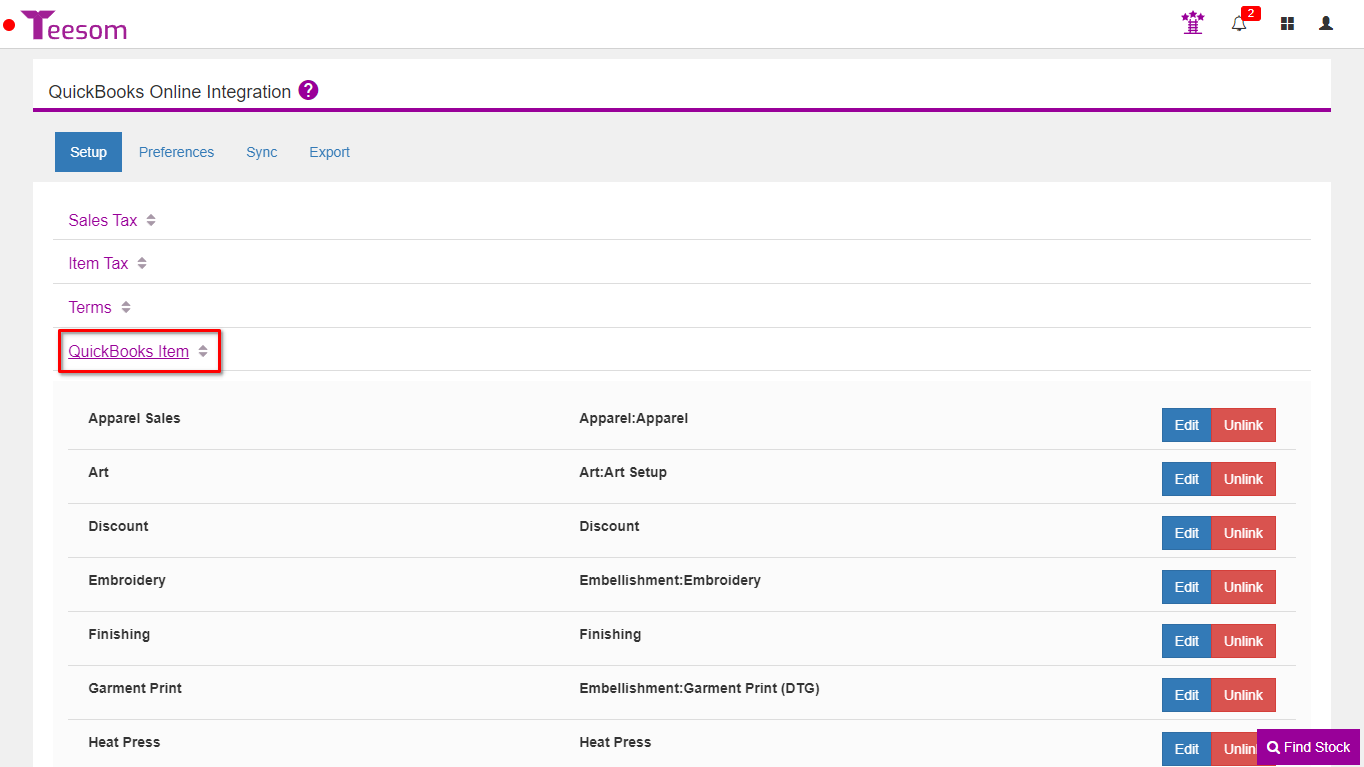
Expand “QuickBooks Item“
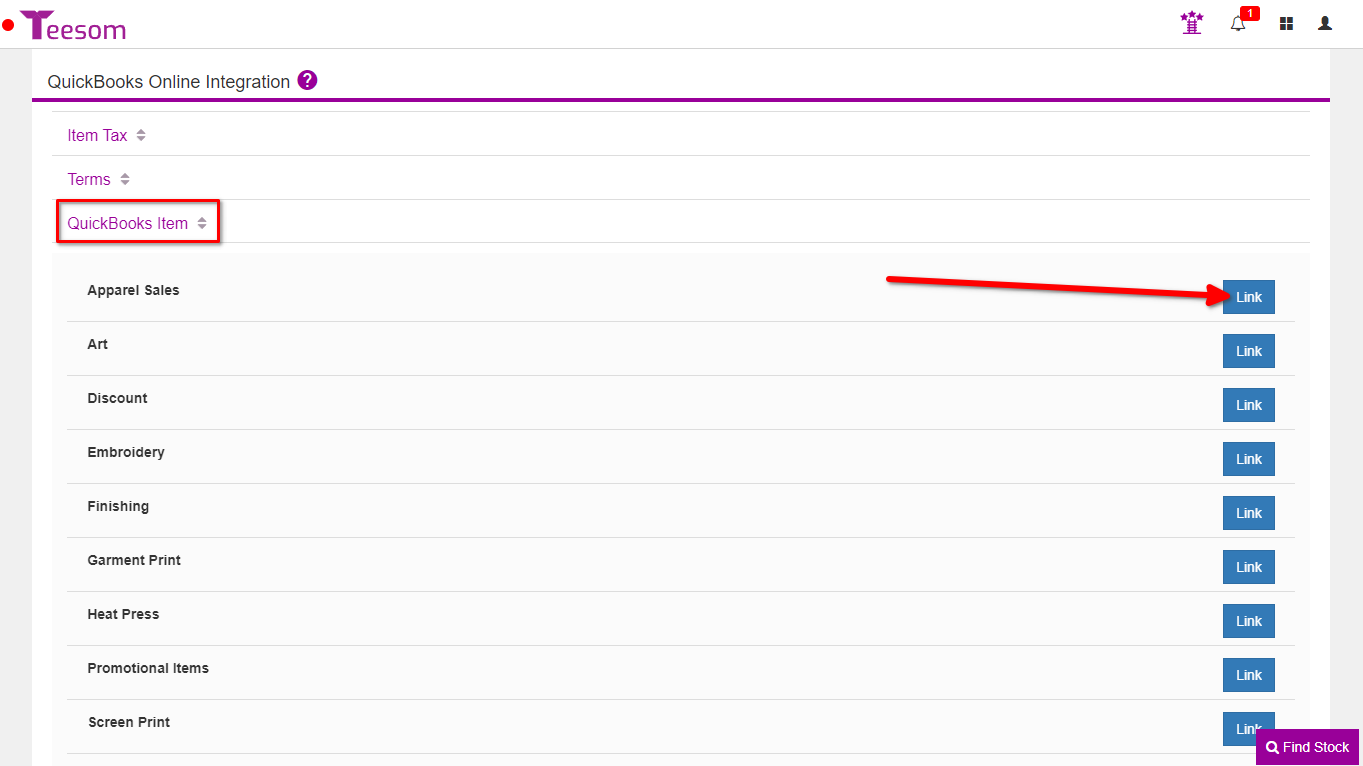
Click on “Link“
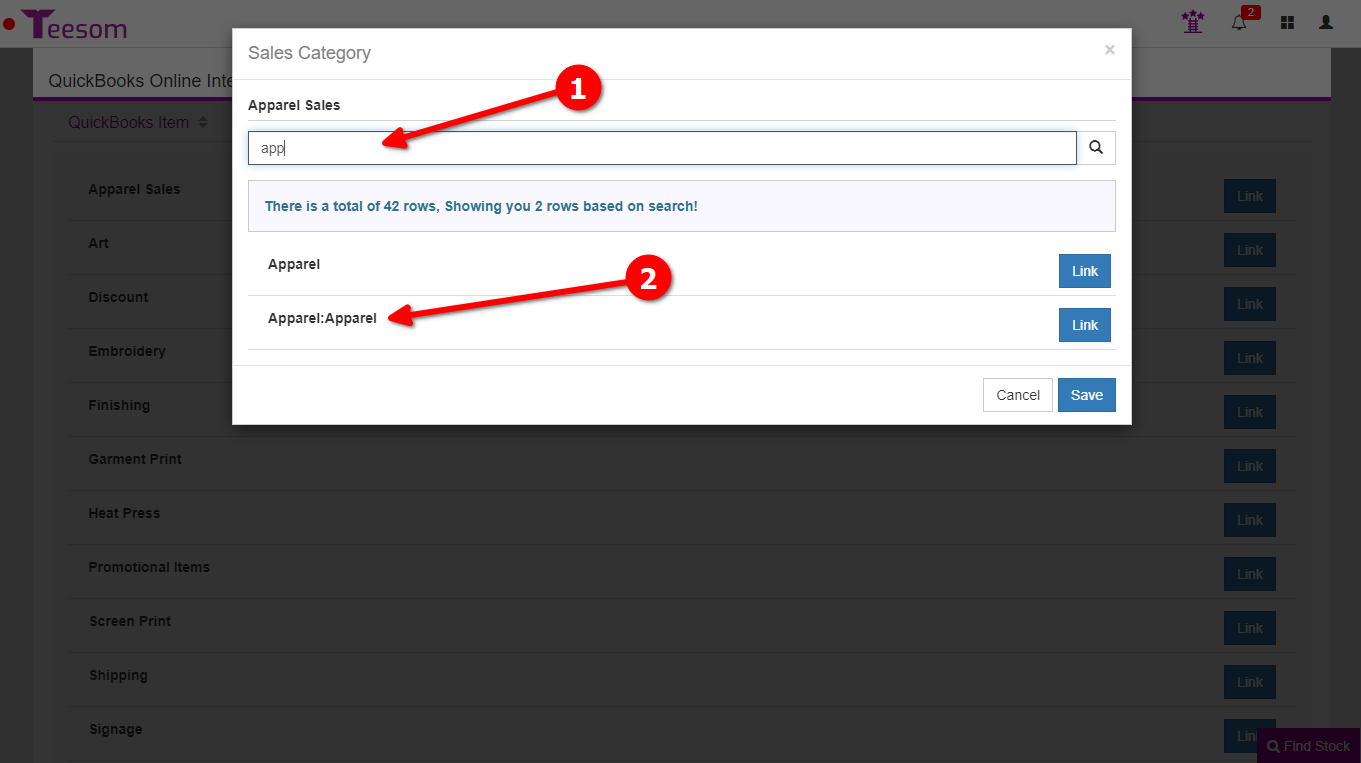
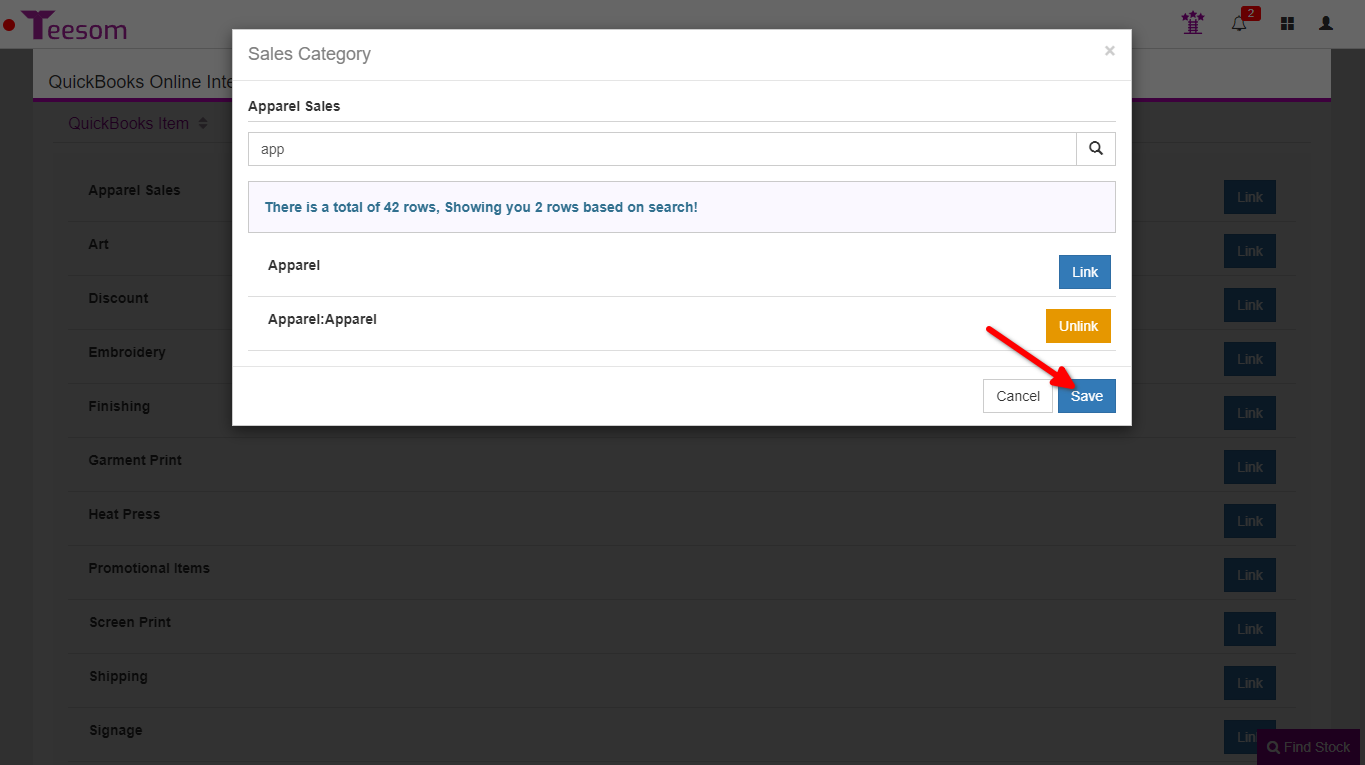
If your Product/Service code is under a category in QuickBooks, when you go to link it in the Integrator it will be displayed as follows Category:Code. You will want to make sure that when linking your Sales Category (Quickbooks Item) in the Integrator you link to the Product/Service Code (when one exists):
Search for the relevant product/service.
Click link on the relevant item. (In the example below “Apparel:Apparel” represents the service code, always use the service code when available.)
Click save after linking the service code and it will now be linked.
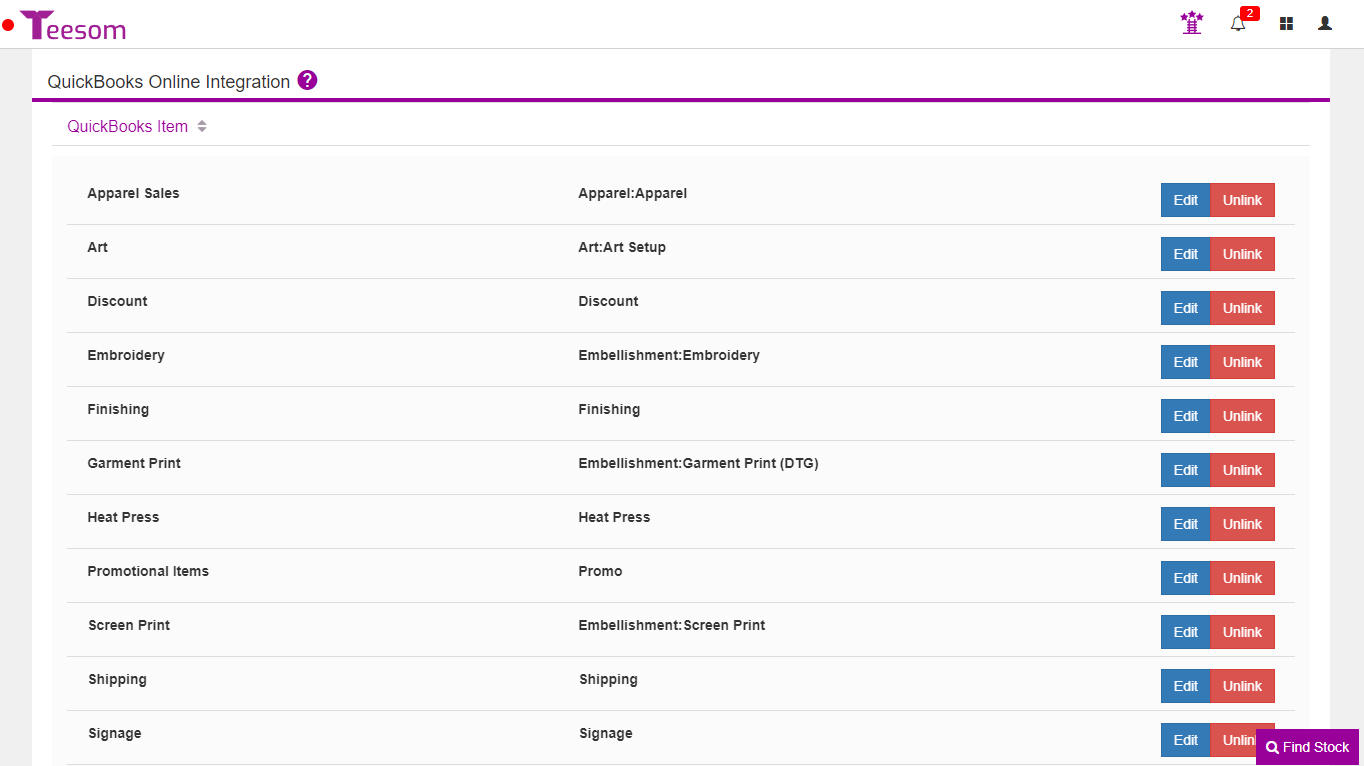
Continue until all your QuickBooks Items are linked:
If no appropriate product or service exists in QuickBooks, you will have to create it:
Create a Product/Service In Quickbooks
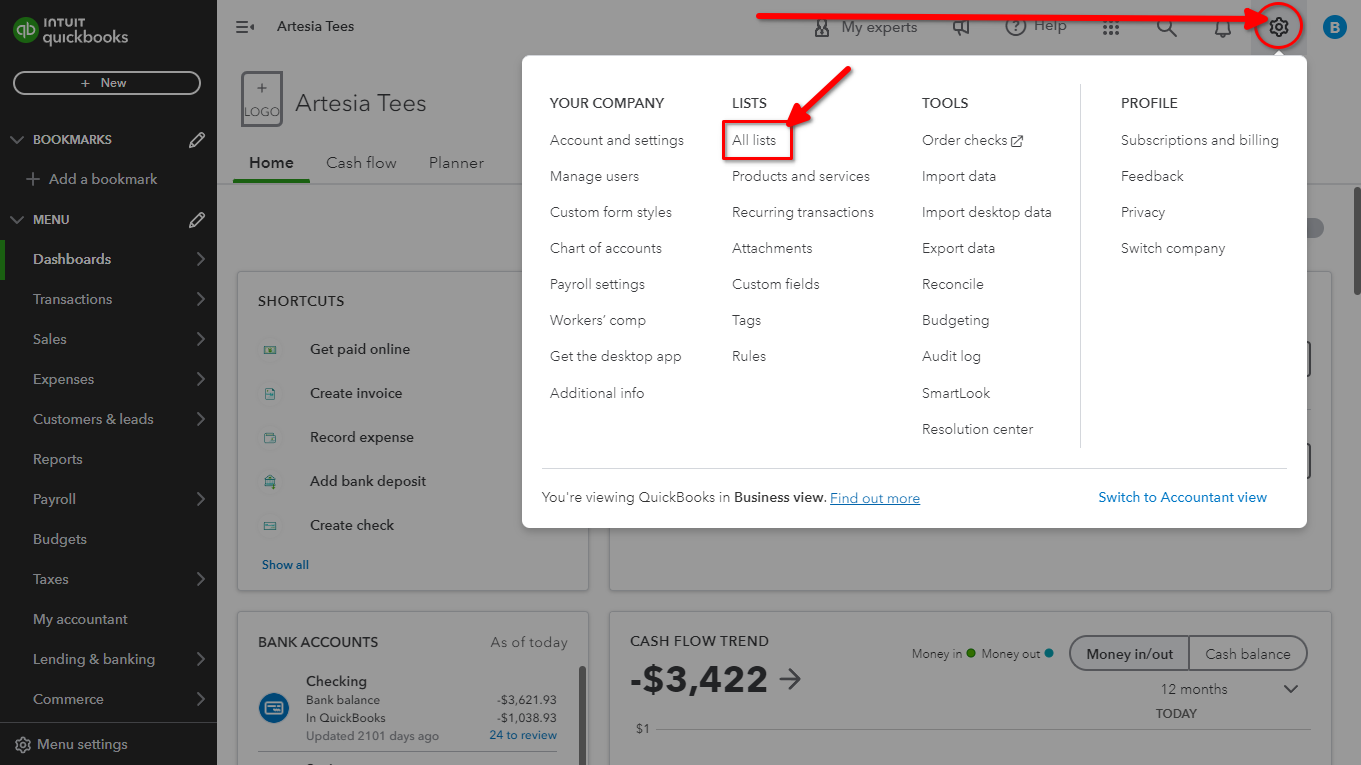
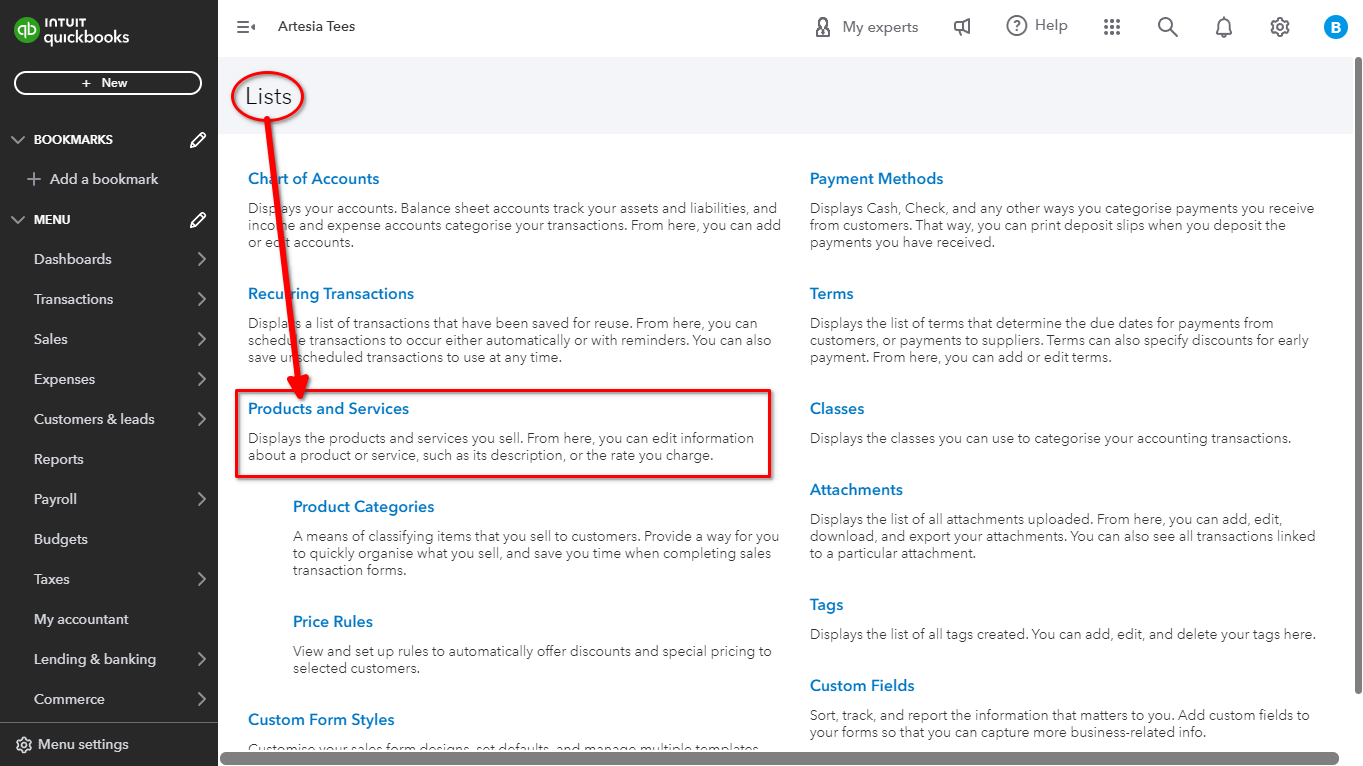
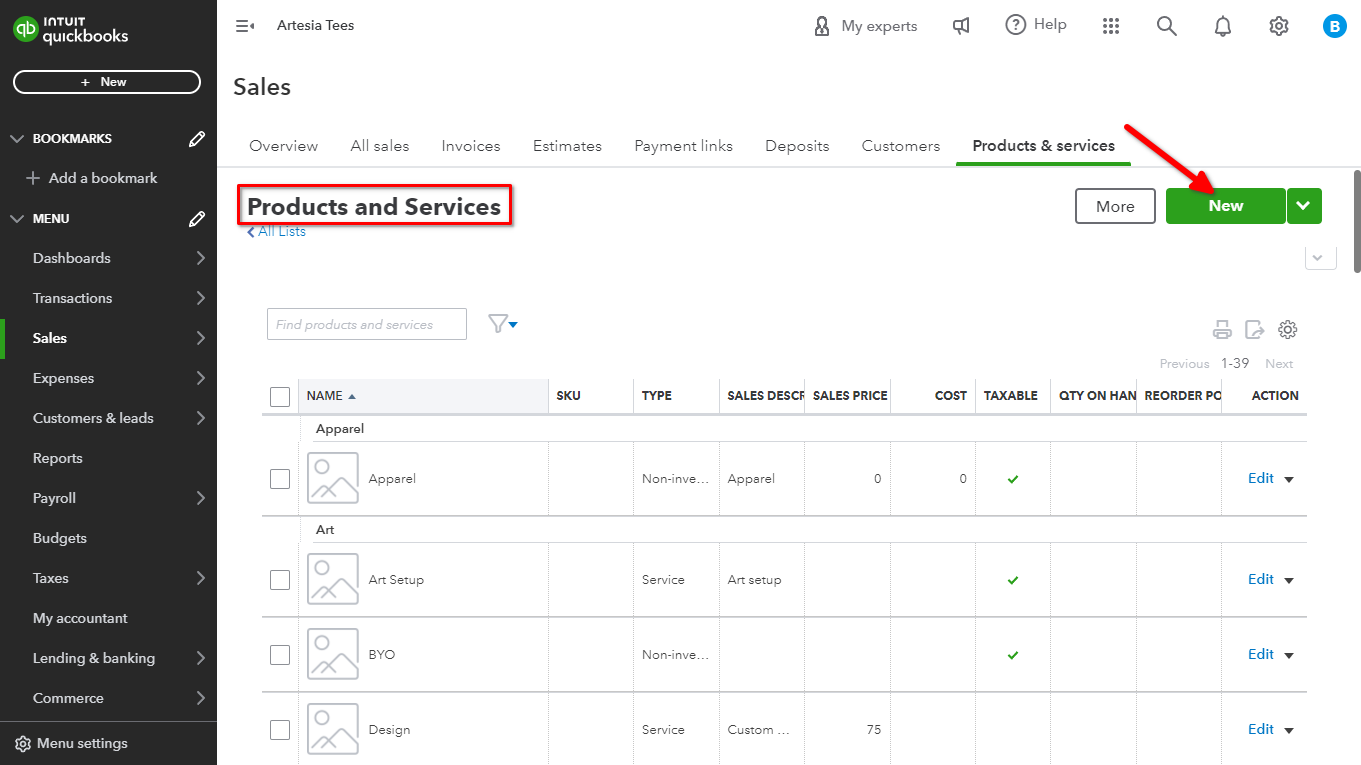
In Quickbooks go to the cog icon at the upper right, then select “All Lists” and click on “Products And Services“:
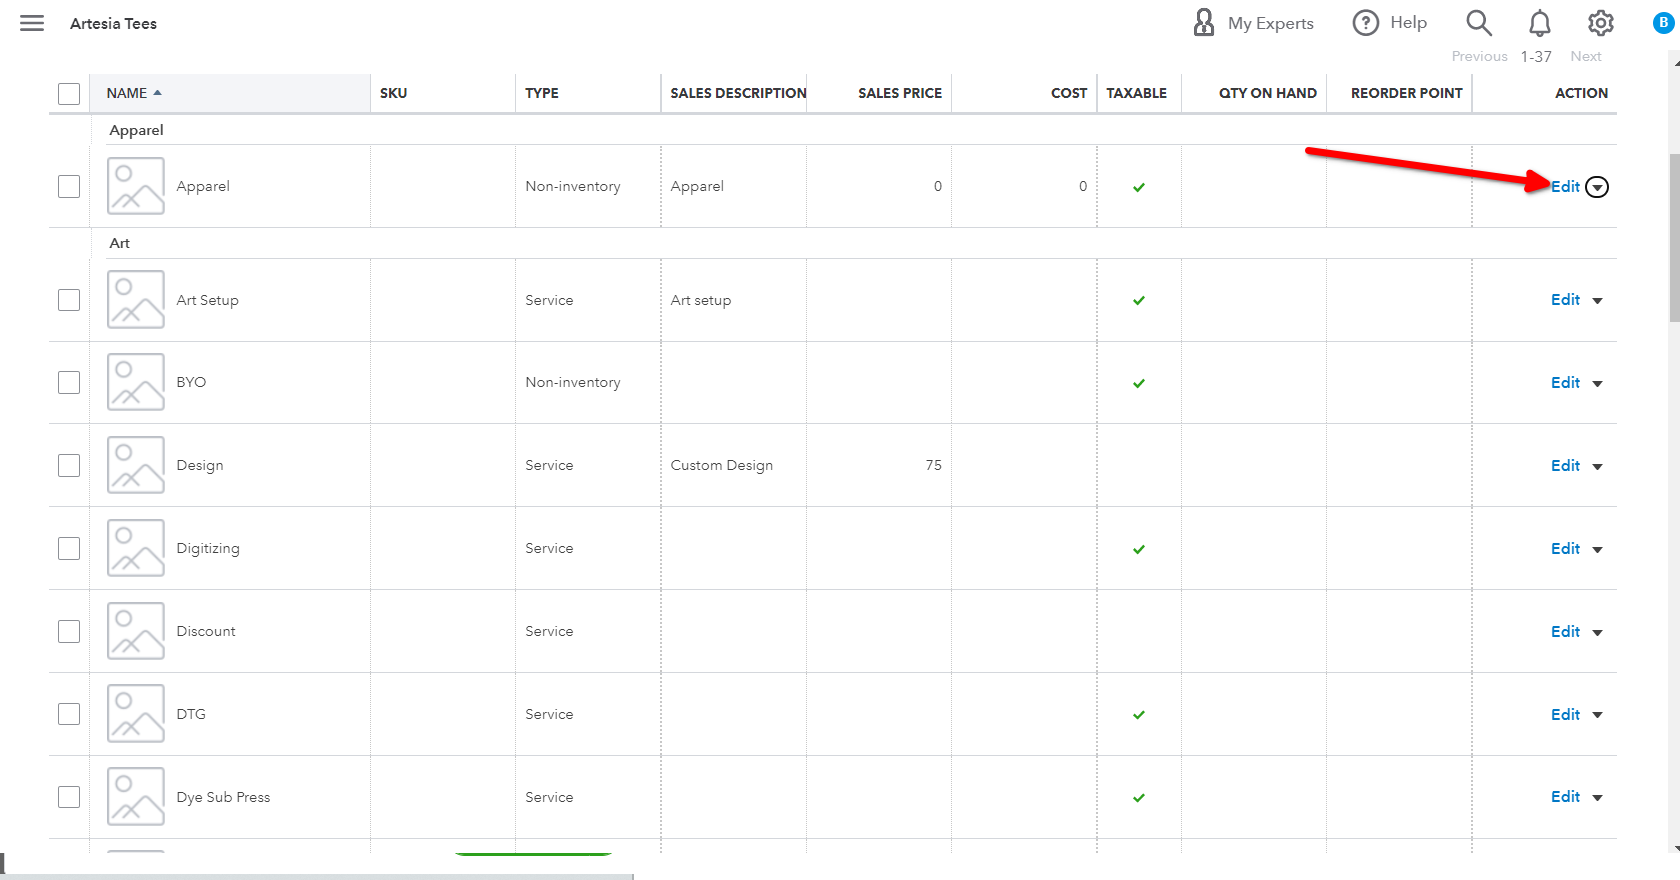
Here you will be able to view a list of all your Products and Services and add new ones:
You can also click on “Edit” on the far right to view and change an existing product:
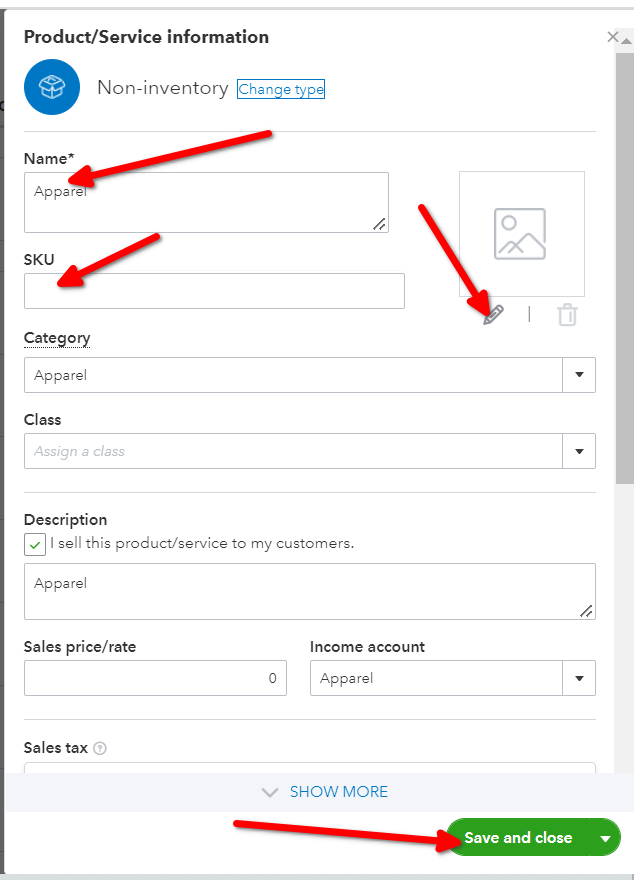
On the Product/Service information screen you can change the name, SKU, Category, and various other options.