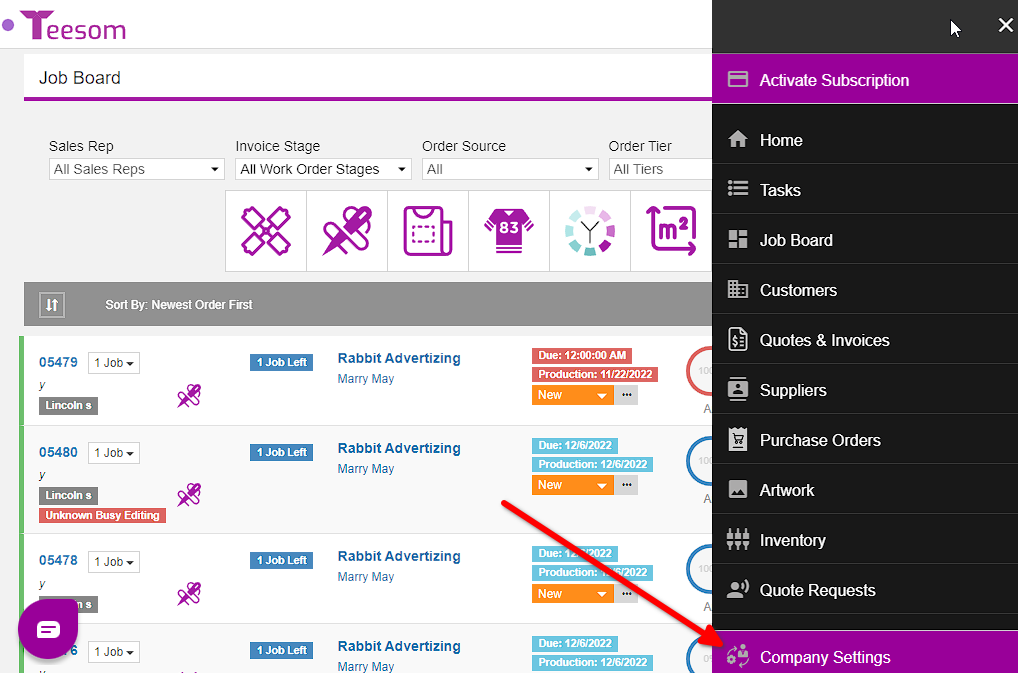
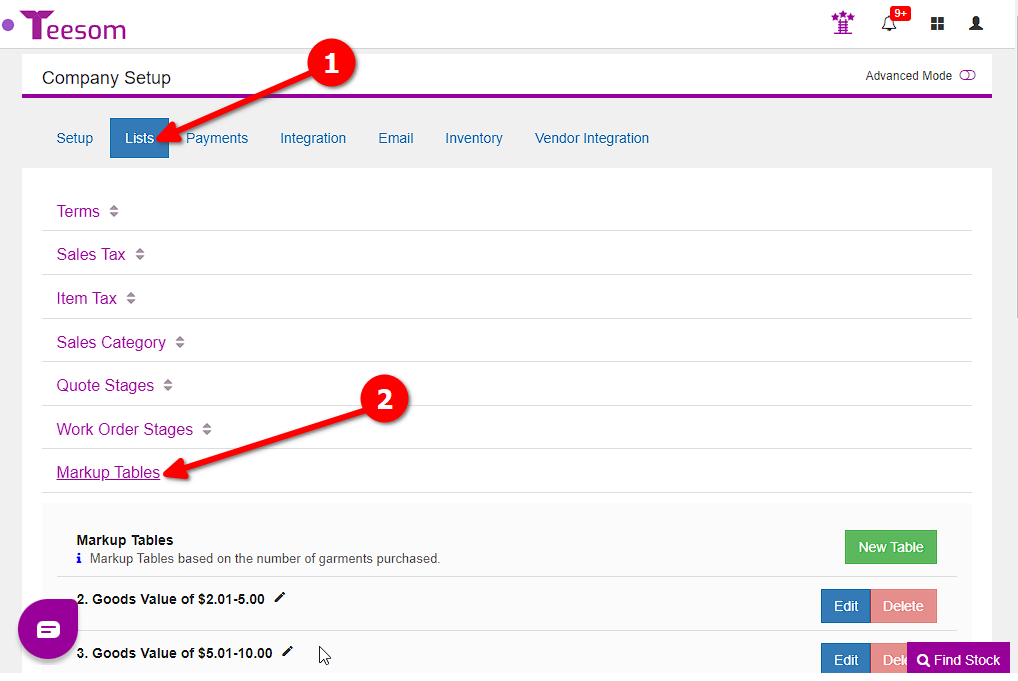
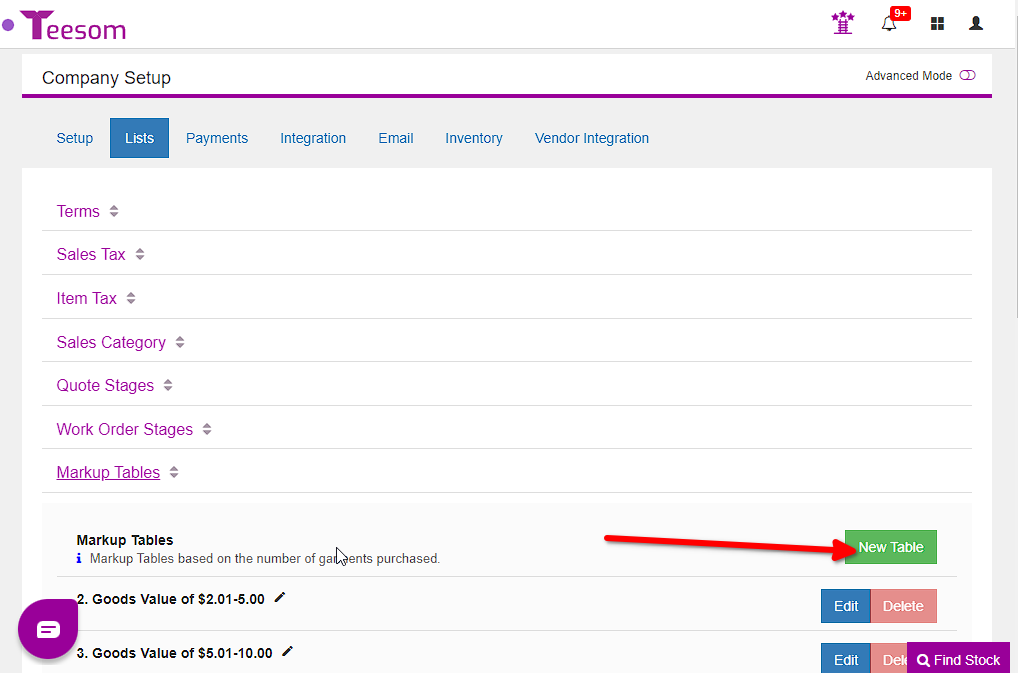
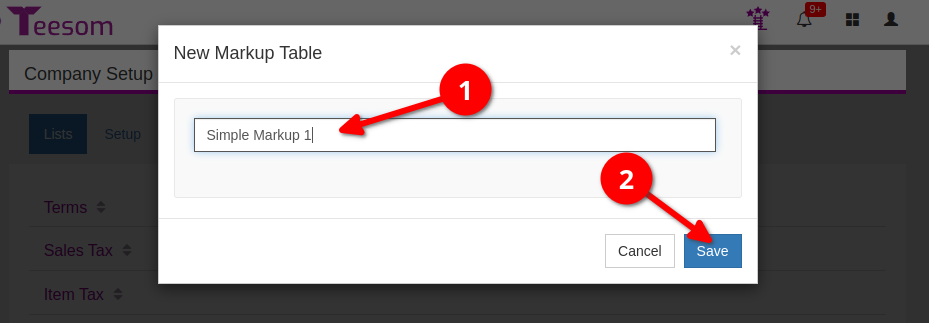
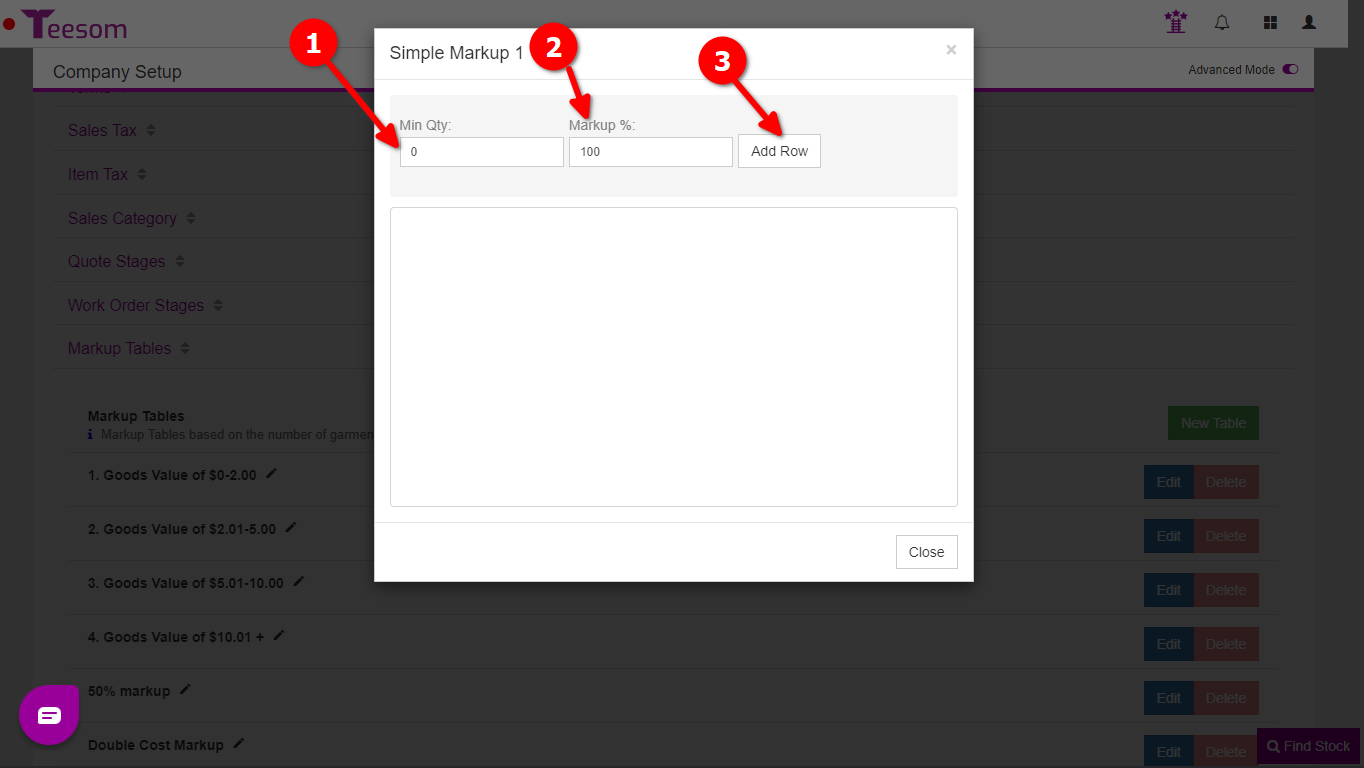
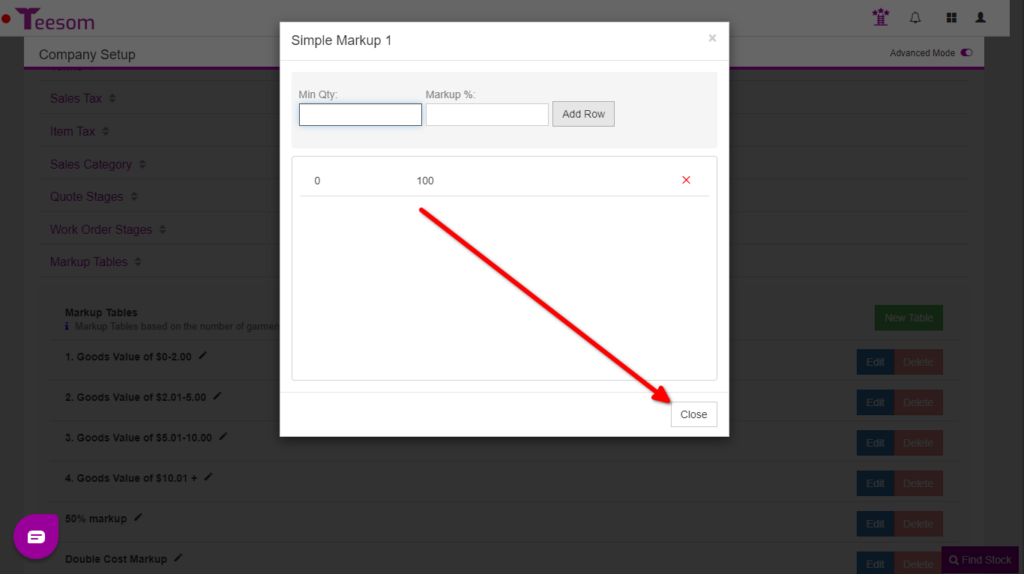
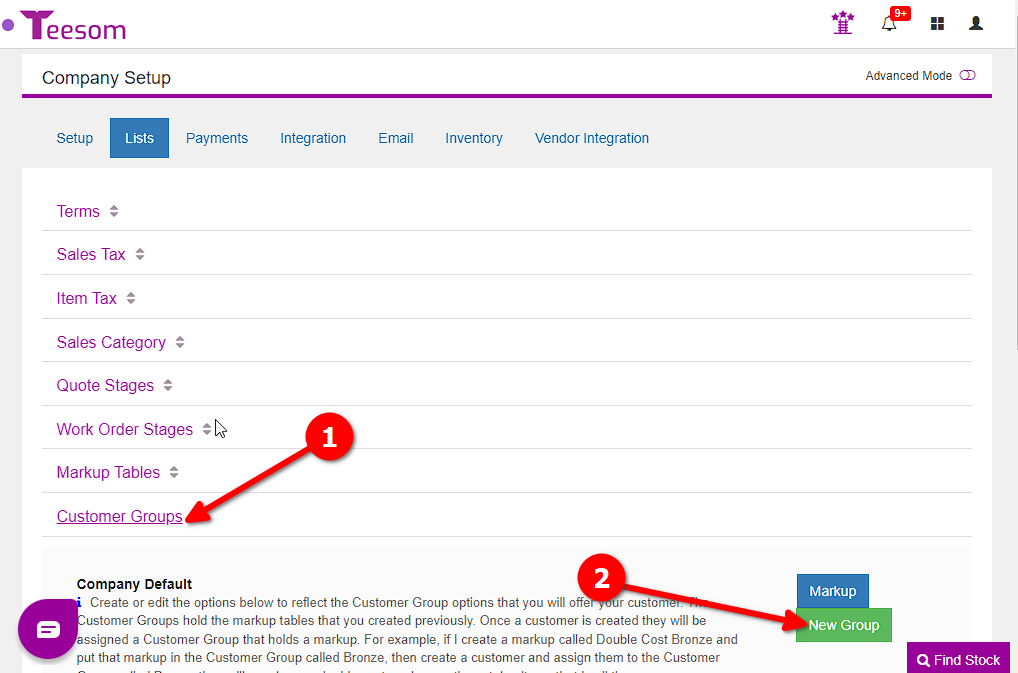
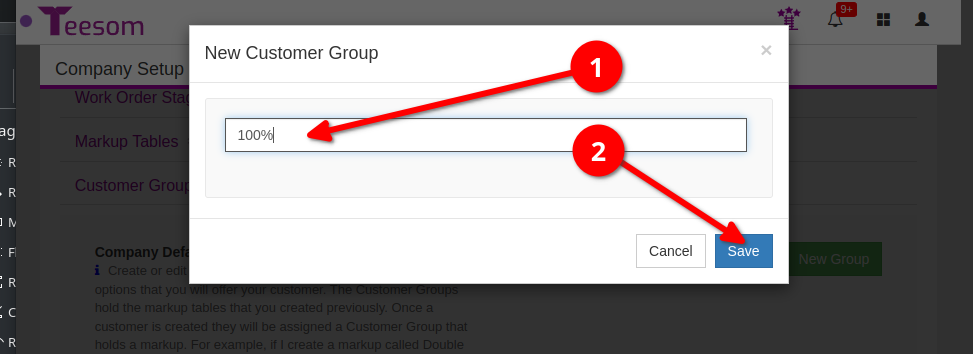
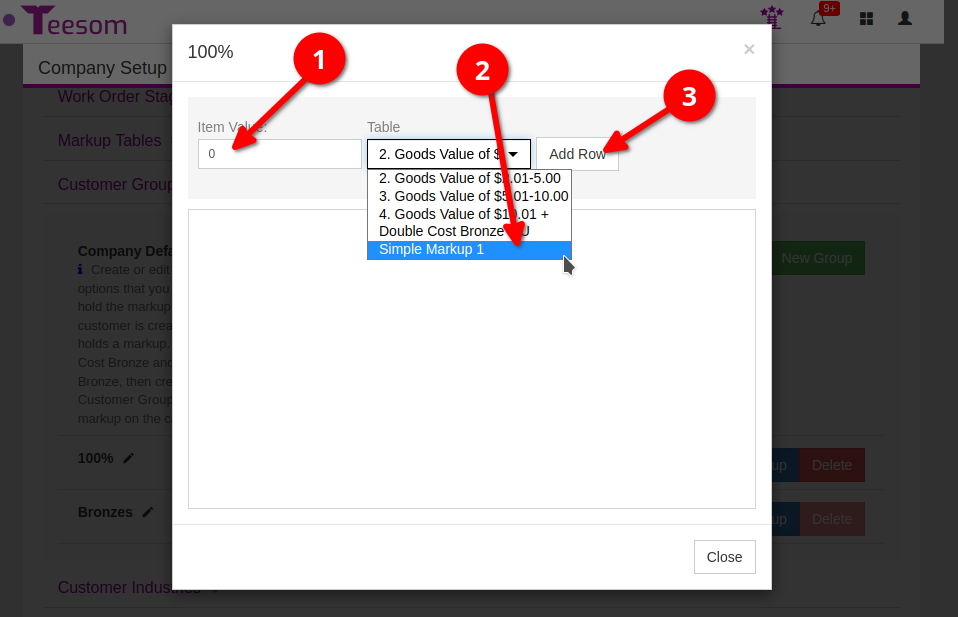
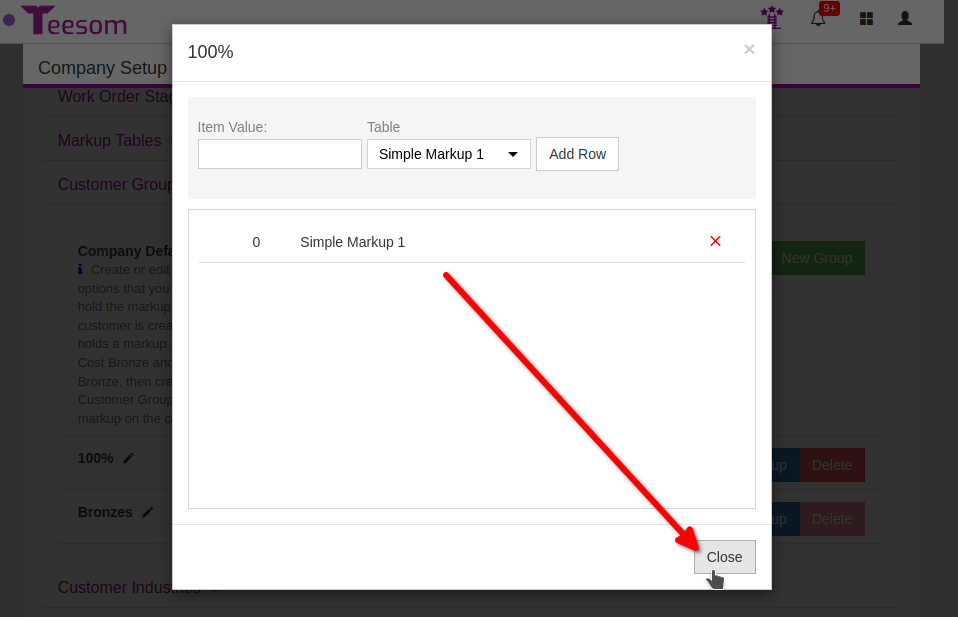
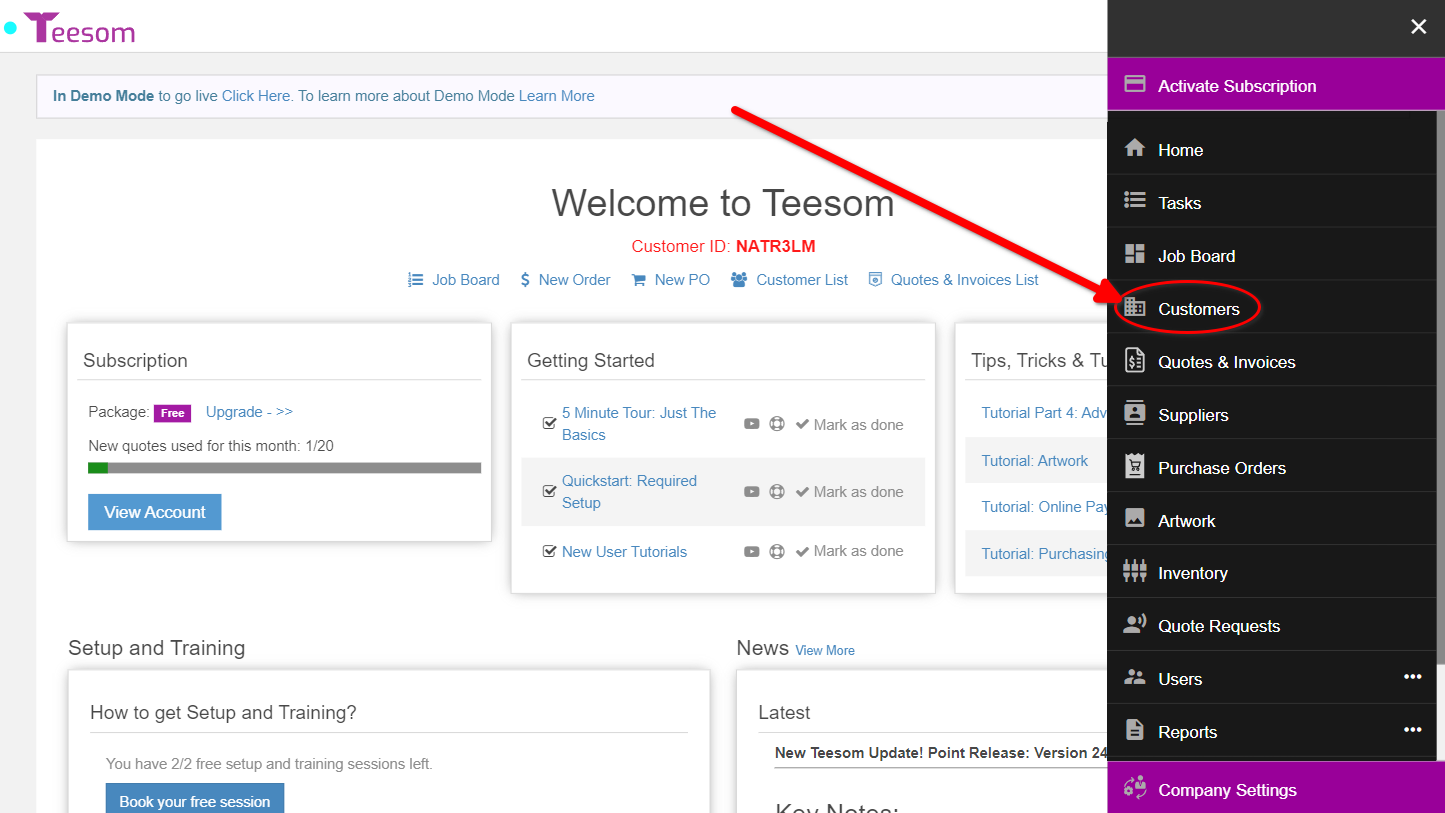
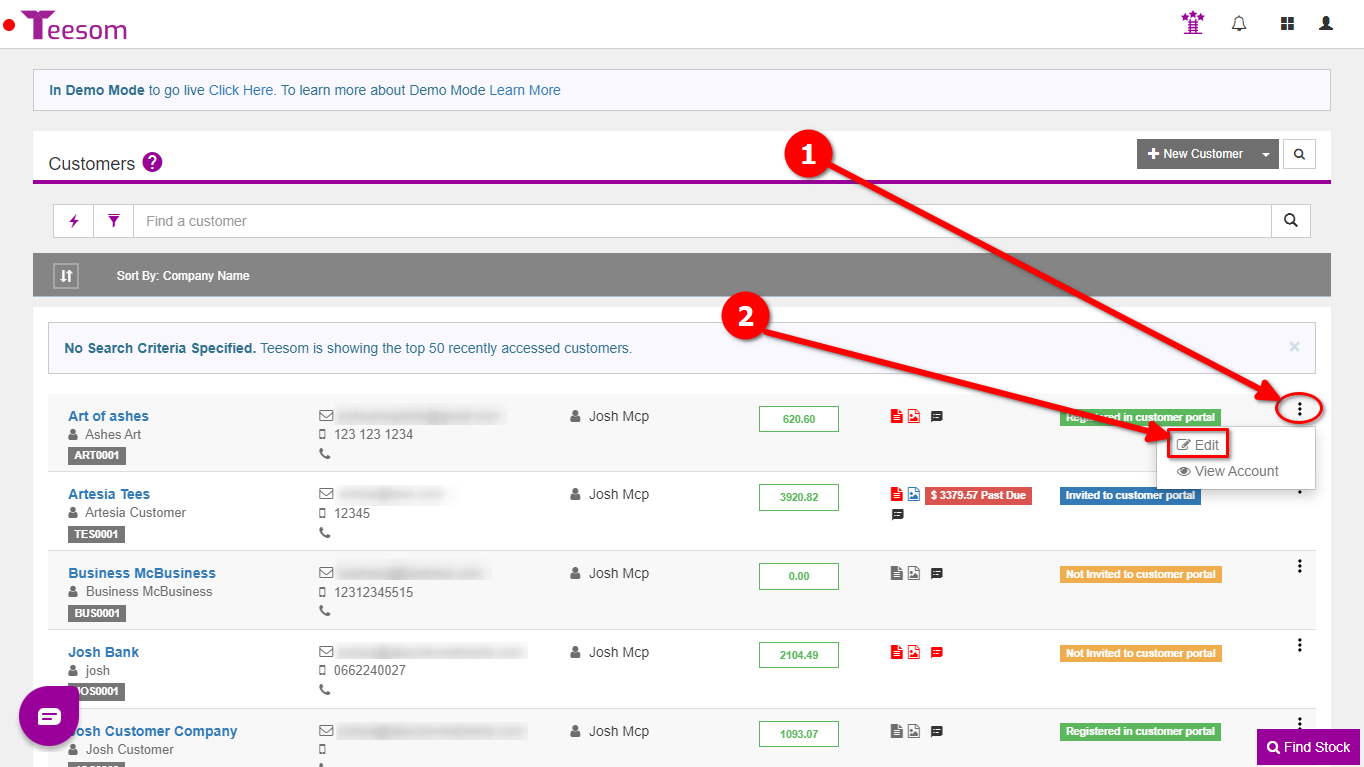
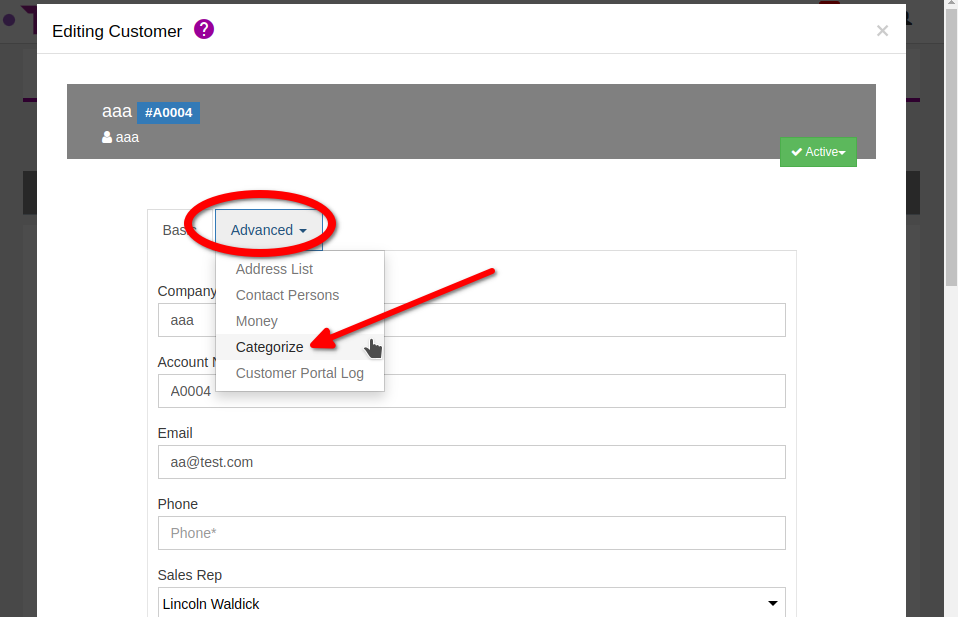
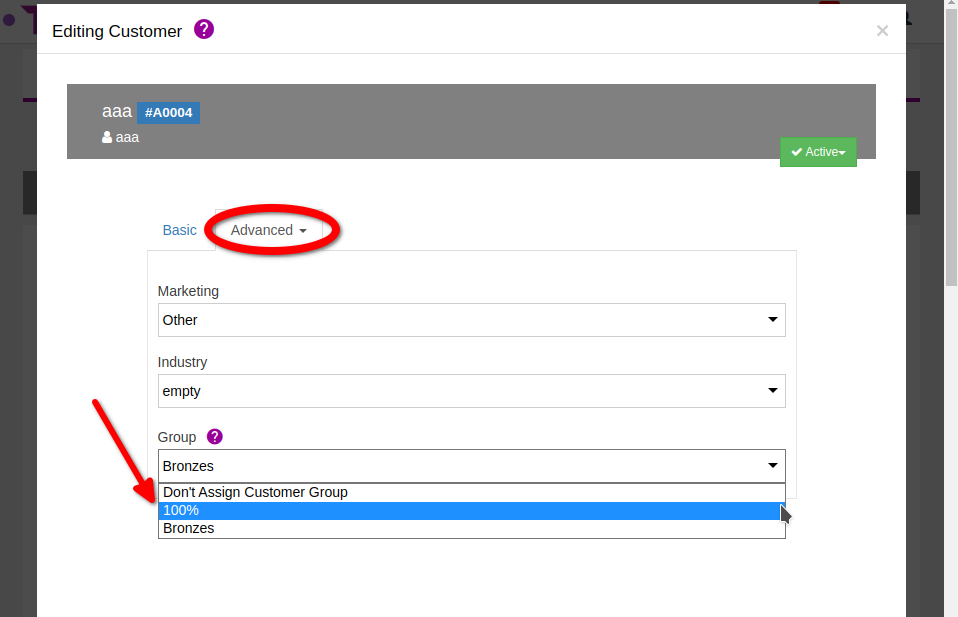
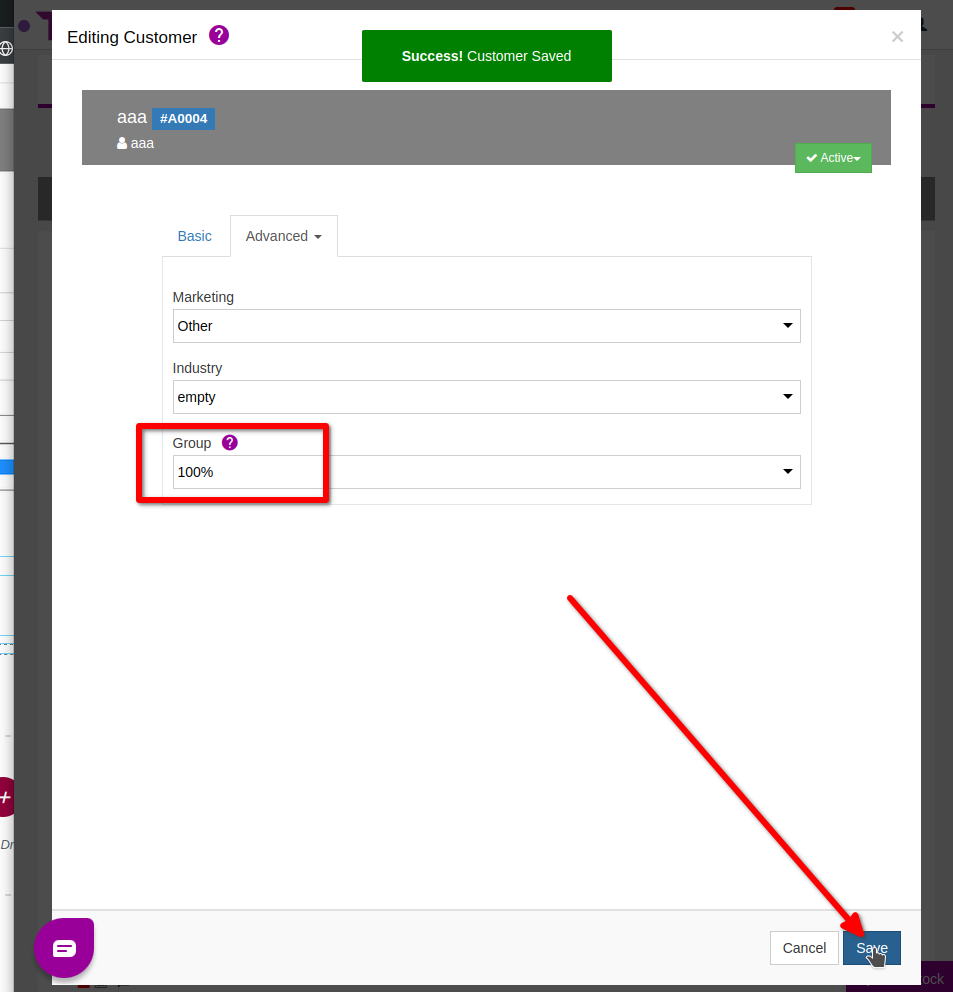
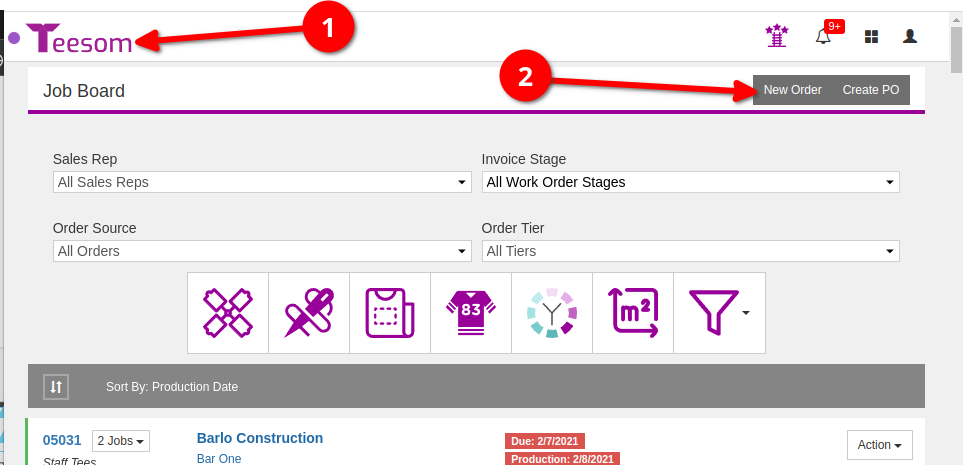
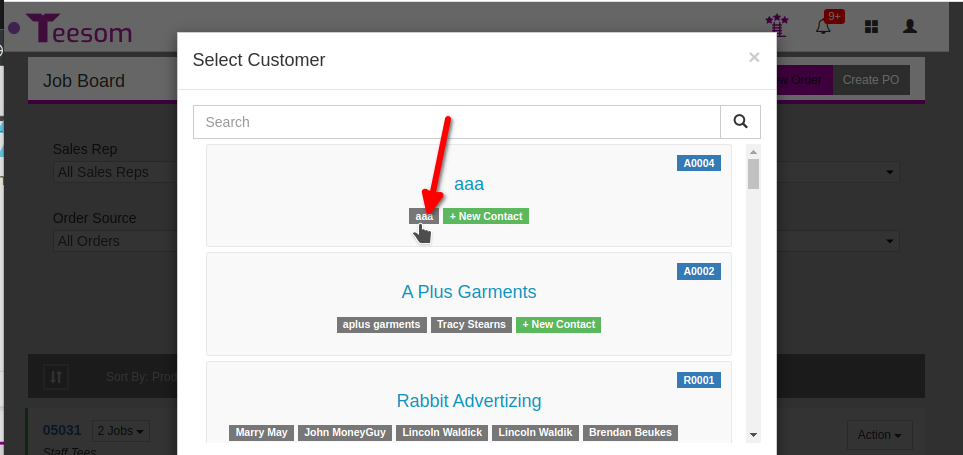
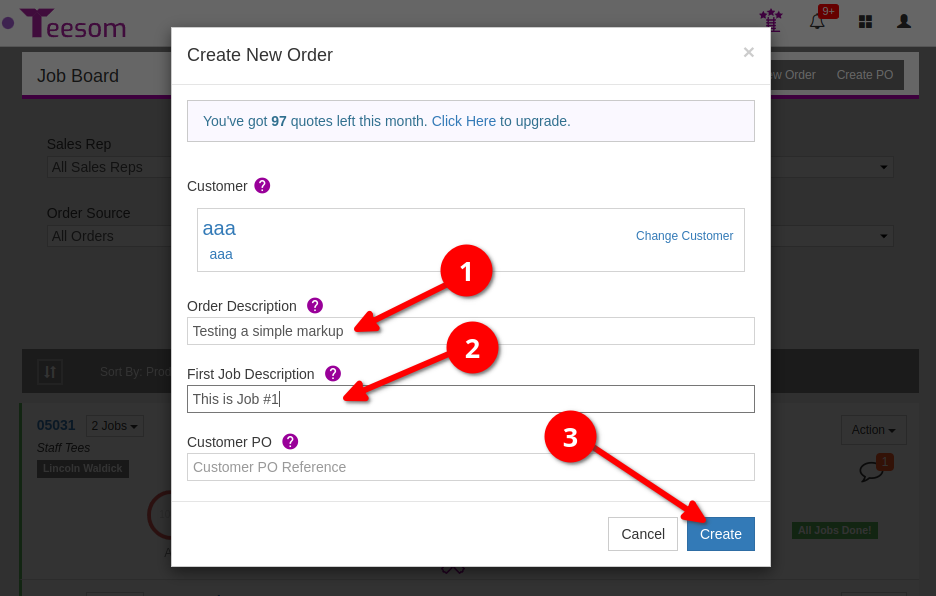
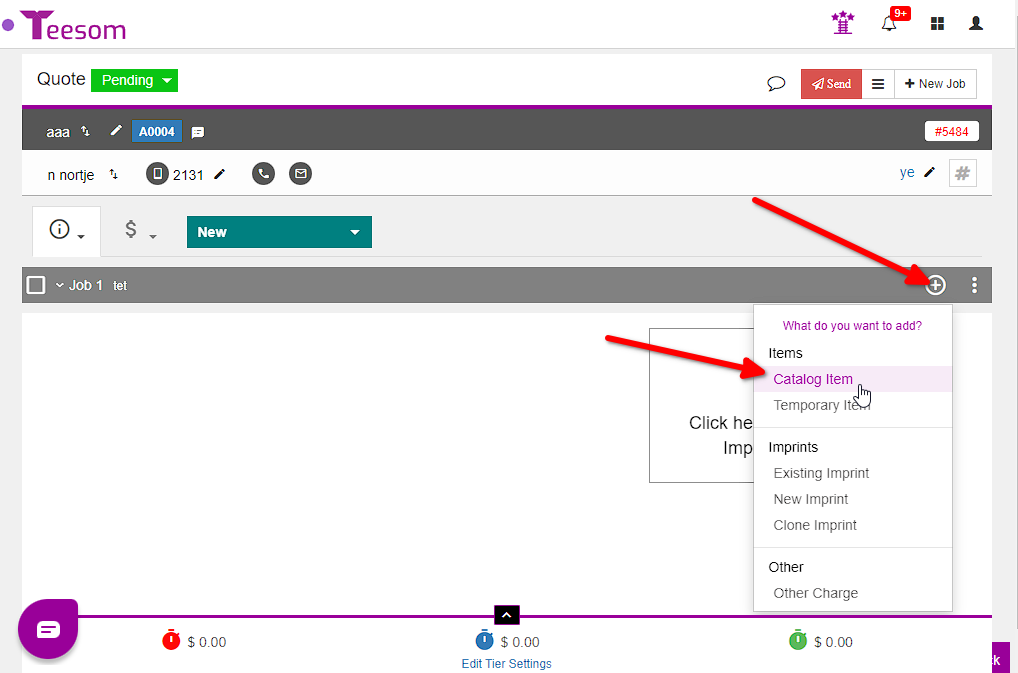
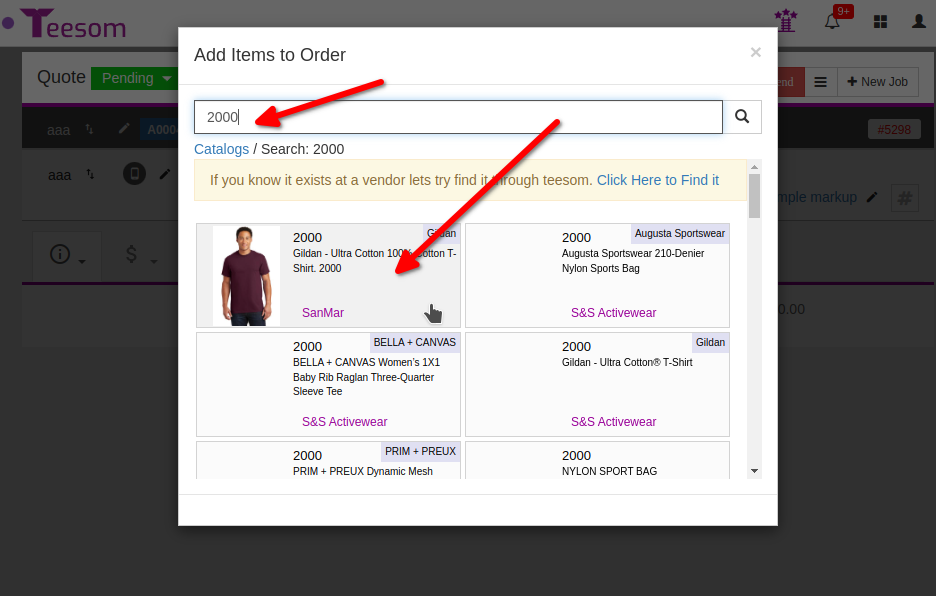
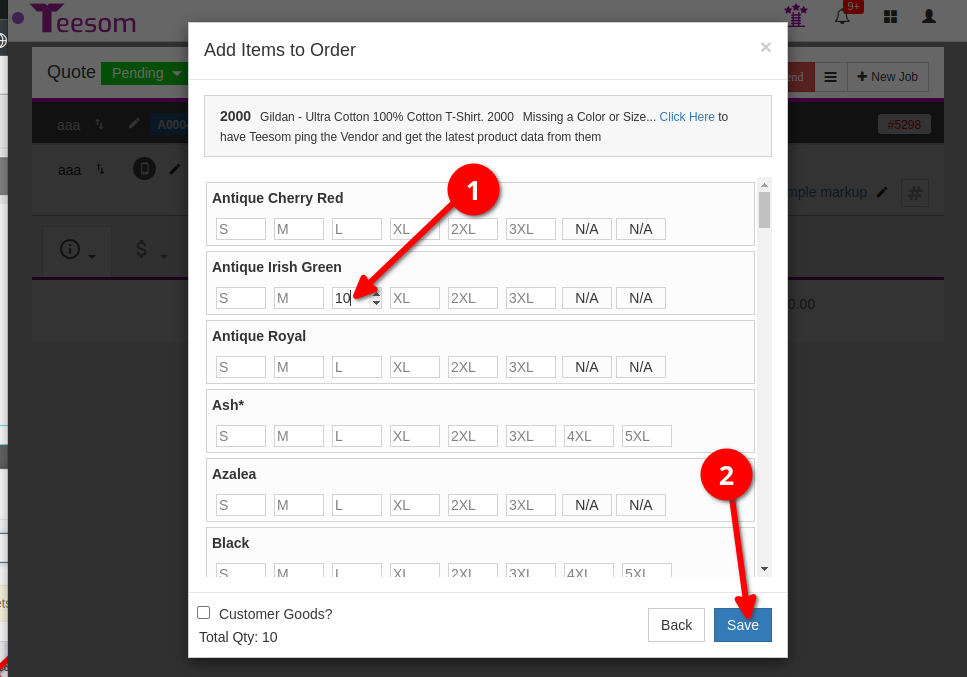
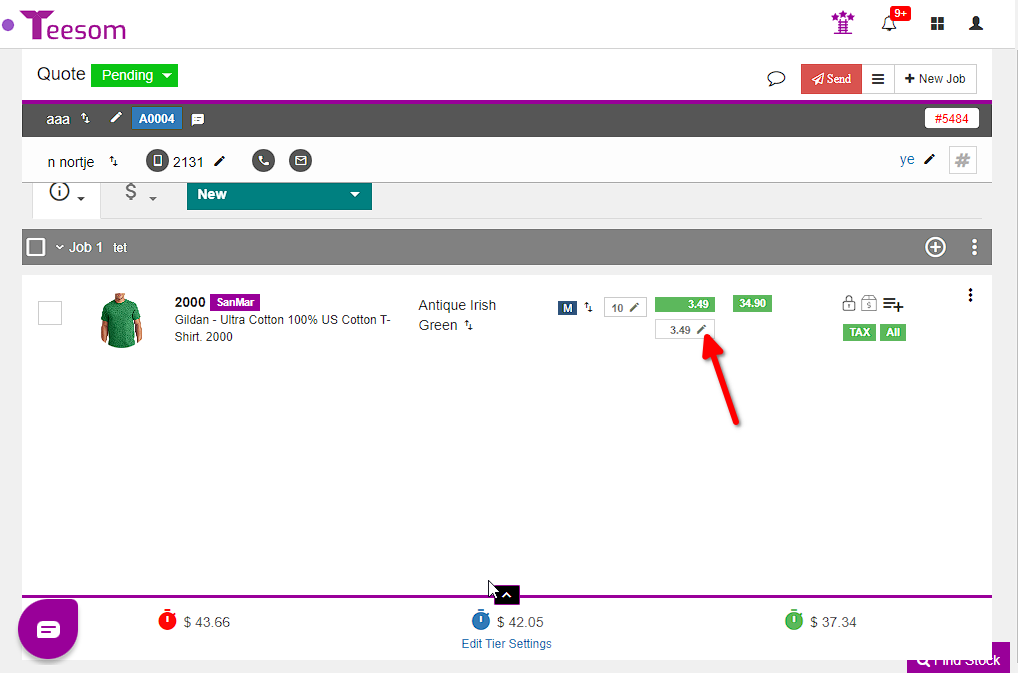
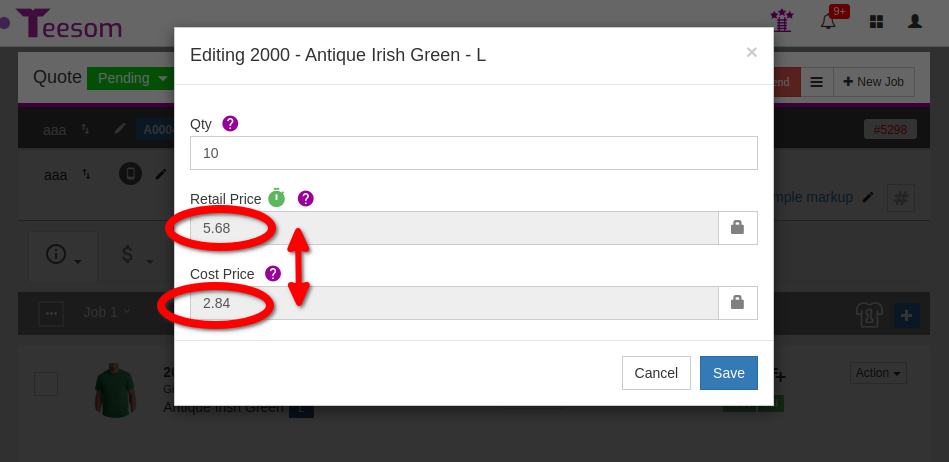
< Back You are here: Home KnowledgeBase Pricing Markups & Products Pricing Simple Markups Print Simple Markups Creating A Simple Markup Table In this example we are going to create a dead simple markup table, with no quantity breaks, and assign it to a customer group. Remember: in Teesom the markup used on an order is determined by the *Group* that customer is assigned to. To learn more about working with customer groups, see this article: Customer Groups From the Main Menu, go to ‘Company Settings‘ -> ‘Lists‘ and expand ‘Markup Tables‘: Then click on ‘New Table’: Let’s call this table “Simple Markup 1“: Now enter “0” as the “Min Qty”.Enter 100 as the ‘Markup %’.Click on “Add Row“.Then click “Close“. Assign Your Markup To A Customer Group Now let’s go and assign this markup table to a Customer Group.Still on the ‘Company Setup‘ page in the ‘Lists‘ tab expand ‘Customer Groups’ and click on ‘New Group‘: We’ll call this group simply “100%“. Enter the item value as 0.Select the new Markup Table we just created.Click on Add Row.Click on Close. Assign Customer To The Customer Group Great.Now we want to make sure our customer is assigned to this group.On the “Main Menu“, go to ‘Customers’: Click the “3 Dot” menu and then select ‘Edit‘. Click on the ‘Advanced‘ dropdown and go to ‘Categorize‘: Under “Advanced” -> “Group”, select the group we just created (“100%”): Remember to “Save”! (Then you can close that window.) Example Order Now we will create a new order for this customer and see how our markup works out. Go to the Job Board and then click on New Order: Remember to select the *Contact Name* Add any existing catalog item to the Job: Click on the “pencil” icon next to the price to see the cost. From there you can calculate to see the the “Retail” is equal to the “Cost + 100%”: Great! You now know how to create, assign and use a SImple Markup Table. Pricing Tutorial Next: Quantity Based Markup Related Topics: 1.) Other Pricing 2.) How Pricing Works