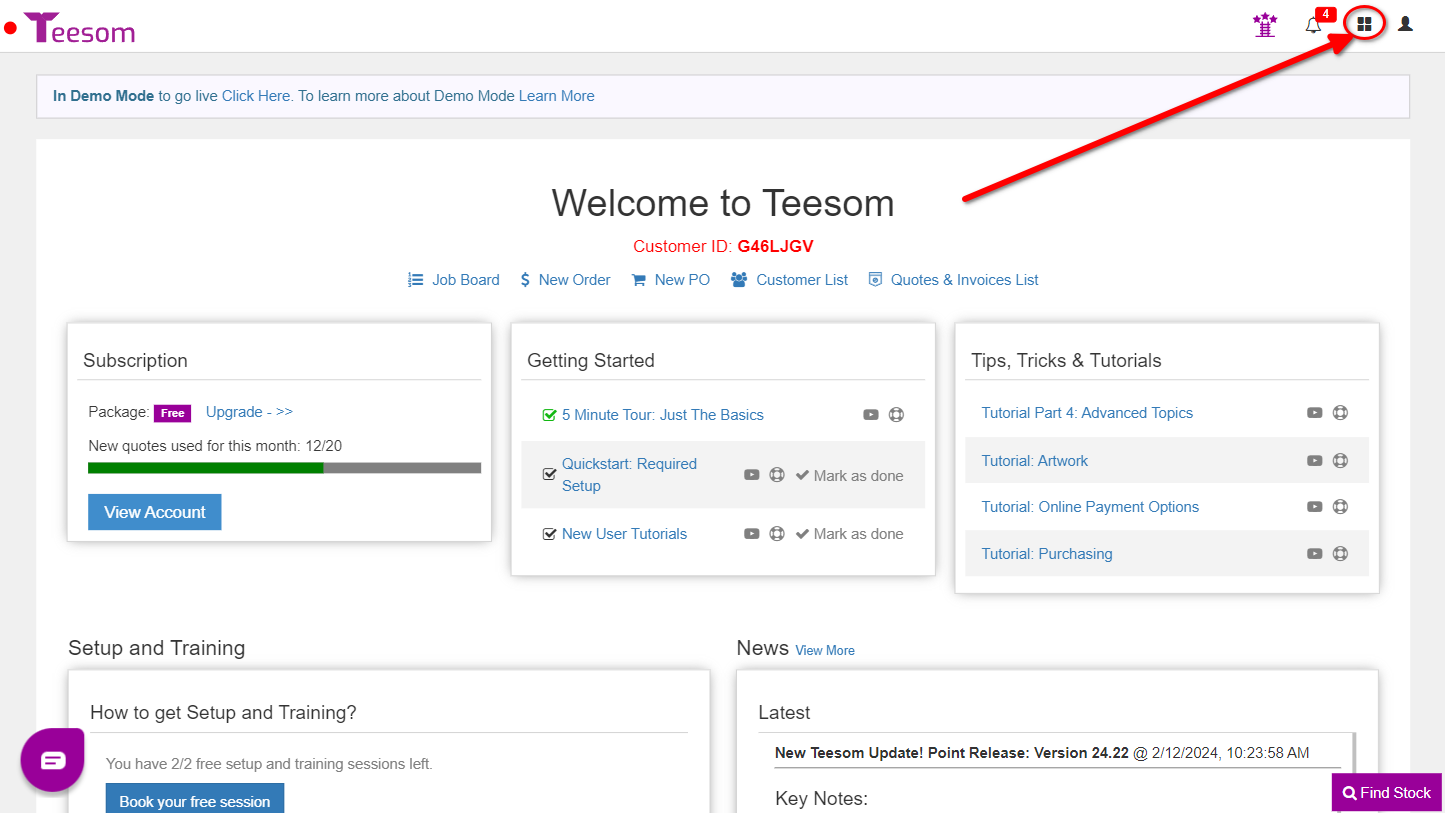
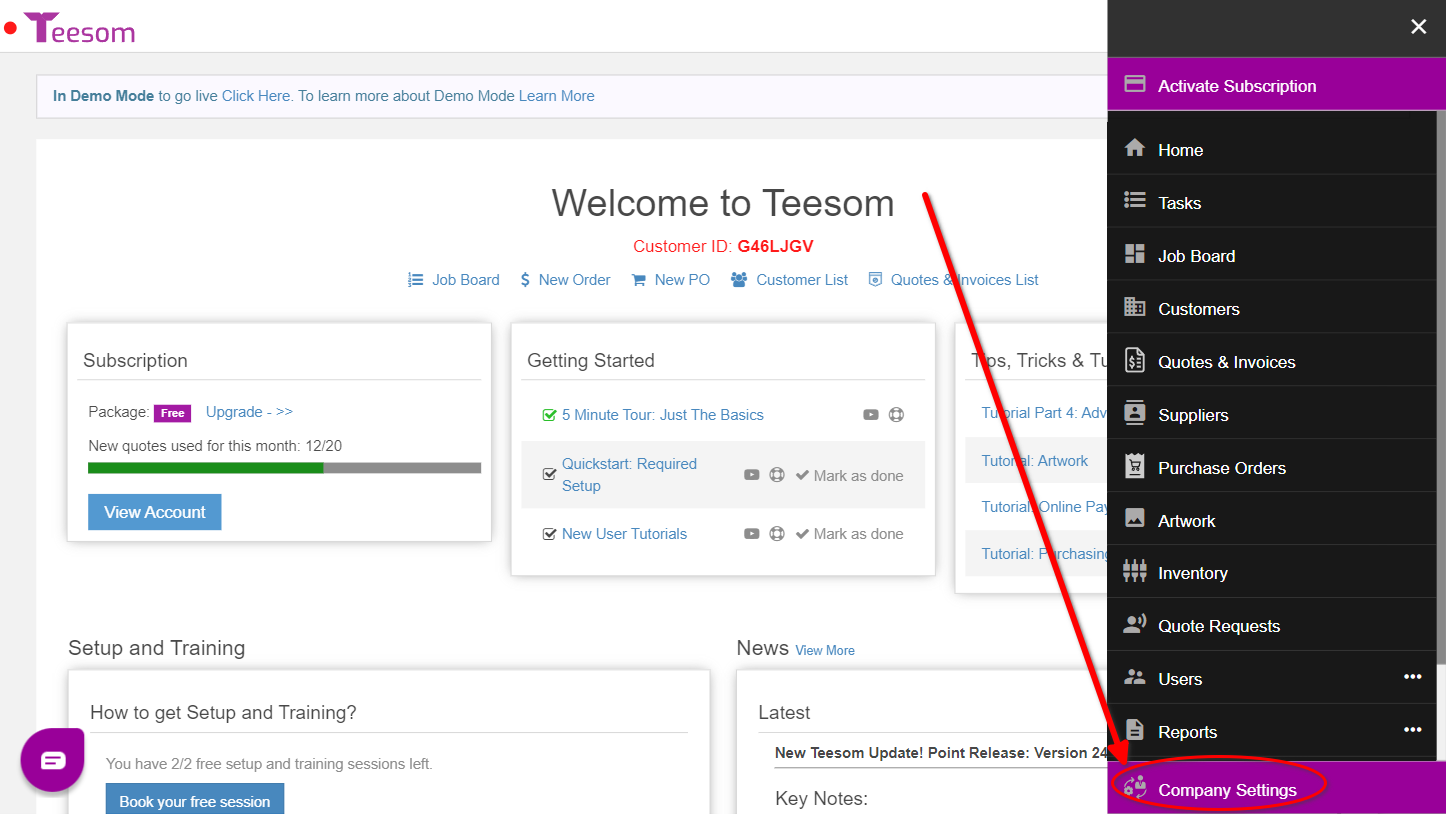
In this article we will give you an overview of the different sections in the Lists tab on the Company Setup screen.
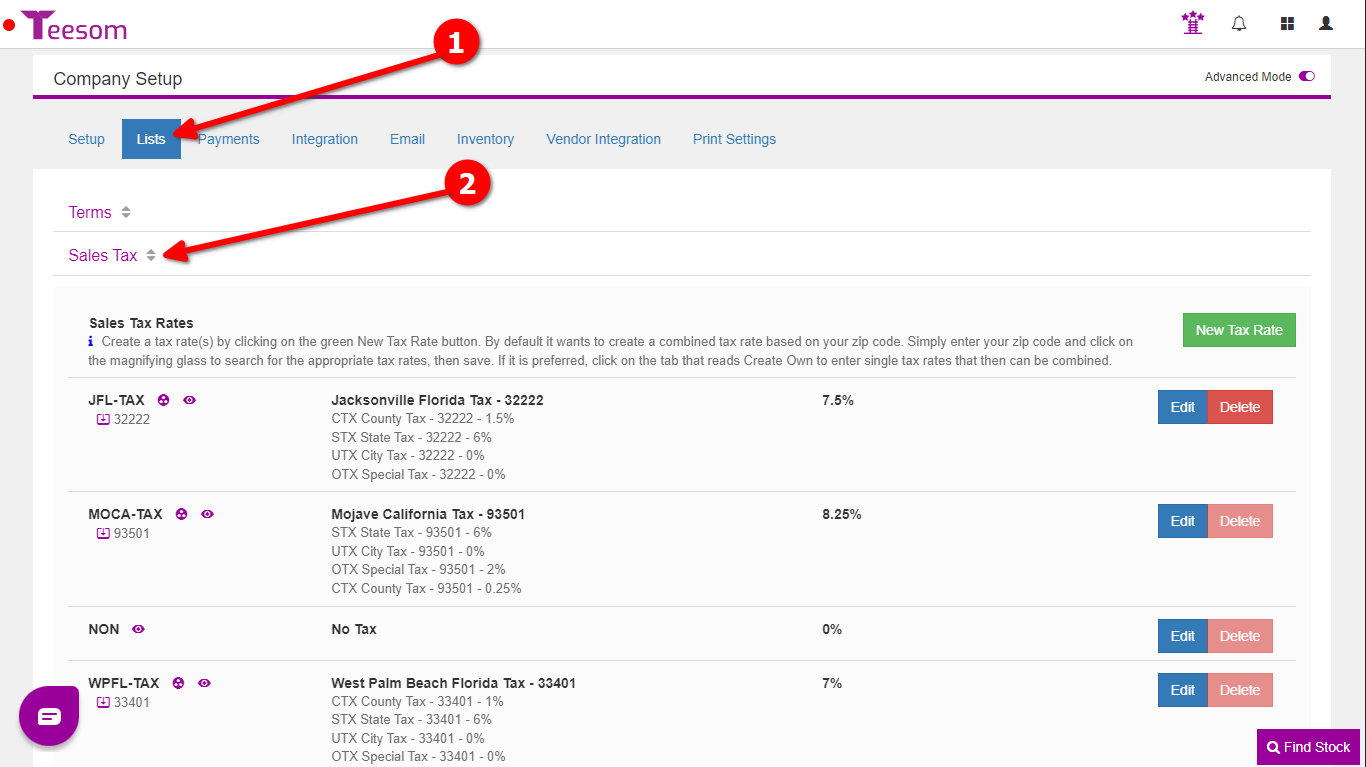
Check the table of contents at the right hand side for any items that have asterisks * --> These are the more important items under "Lists" that you should give attention to. All the others can be reviewed at any later time.
These are the Customer’s Payment Terms that will be set when creating a customer. These terms will default on orders in Teesom based on the Customer. You can create, edit and delete terms on this page: (Any terms in use, on an order, cannot be deleted.)
Click “New Term” to create a new Term for a customer. Terms can be set to require a deposit percentage, to be due by number of days from invoice, or for a specific day of the month:
For QuickBooks Users, it is important that your Terms in Teesom match up with your Terms in QuickBooks.
Every product or service that is sold through Teesom will be assigned to a “Sales Category” which will assist with sales reporting later, and also when exporting to QuickBooks.
Teesom has already supplied several common Sales Categories for our industry.
Feel free to create more Sales Categories and edit or delete the existing ones that are not needed.
These Sales Categories will eventually link up to “Products and Services” in QuickBooks Online, or “Item Codes” in QuickBooks Desktop.
The most important thing, is that if the Sales Category exists in Teesom, and you are going to be using that sales category, it must exist in QuickBooks. If you are not going to use that Sales Category, then delete it, so you do not have to “marry it up” to anything in QuickBooks.
Markup tables are applied to catalog items, temporary products and other charges only. They are not used in creating a markup for embellishments (Screenprint, embroidery, DTG, etc.) or additional charges.
We have included a few sample markup tables that you can utilize to get started. These tables can be modified to match your current markup system:
Click “New Table” and enter a description for this markup table:
Enter a minimum quantity. (The first row must always start at 0.)
Enter a markup value.
Click Add row. (You can add multiple rows for different quantity breaks. We’ll explain this more next.)
You can create multiple markup tables that each serve a different purpose. For example: you can create different markup tables that will each be applicable to goods within a certain COST bracket (you can give more expensive items a lower markup).
Each markup table can be further broken down by Quantity.
The markup tables you create will then be assigned to different Customer Groups, so Teesom will select which markup to use on an order based on the Customer Group that customer is in.
There are 2 types of markup tables that you can create:
1.) Flat Markup: This is where you would just markup an item 100%, regardless of the cost.
Cost $2 x 100% markup.
2.) Markup by Cost of Item: This is where you would create multiple tables based on cost ranges and apply a flat markup to it.
Cost Range 1, $0 – $5 x 100% markup.
Cost Range 2, $5.01 – $12 x 90% markup.
Cost Range 3, $12.01 – $18 x 80% markup.
Cost Range 4, $18.01 or higher x 70% markup.
You can also add quantity breaks to both of these options:
1.) Flat Markup:
Cost $2, 0 – 12 pieces x 100% markup.
Cost $2, 13 – 24 pieces x 90% markup.
Cost $2, 25-48 pieces x 80% markup.
Cost $2, 49 or more pieces x 70% markup.
2.) Markup by cost of item:
Cost Range 1, $0 – $5, 0 – 12 pieces x 100% markup.
Cost Range 1, $0 – $5, 13 -24 pieces x 90% markup.
Cost Range 1, $0 – $5, 25 -48 pieces x 80% markup.
Cost Range 1, $0 – $5, 49 or more pieces x 70% markup.
In Teesom, markups are assigned to the *Customer* based on their Customer Group.In other words: the Customer Group that your customer is assigned to will determine which markup is used with any items added to an order for that customer.
The group your customer is in will determine what Markup they qualify for. If the customer is not assigned to any group, they will be given the “Default” markup. (Click on “Markup” next to “Company Default” to set this):
You may create as many Customer Groups as you like, and assign a specific set of markups to be used with each group. For Example:
You might have 3 markup tables each of which is applicable to goods of a different cost bracket (e.g. one markup for goods below $2 and another for goods that cost between $2 and $5 and a third table for goods that cost more than $5). Then you can list those three tables in the customer group: “Bronze”.
Now, any customer that is assigned to that group will get those markups when doing an order for them.
TIP:You can edit the description of a group if you click on the "pencil" icon right next to the Group Description
A predefined list of imprint locations that you can select from when adding an imprint or design to an order. Add/Edit/Delete the imprint locations to suit your needs:
How it looks when creating an Imprint/Artwork/Design:
Here you can maintain a list options that reflect how you advertise your business – which can be helpful for tracking how your customers found out about you, and which marketing methods are the most effective: